Are you tired of spending a fortune at the salon to maintain your hair color? If so, fear not! Applying a professional hair color at home is easier than you think. With the right tools and techniques, you can achieve salon-worthy results in the comfort of your own home. From choosing the right color and developer to applying the dye evenly, this guide will walk you through the steps to ensure a flawless finish every time. Say goodbye to expensive salon visits and hello to beautiful hair color from the convenience of your own home.
This shop has been compensated by Collective Bias, Inc. and its advertiser. All opinions are mine alone. #BeAgeBeautiful #CollectiveBias 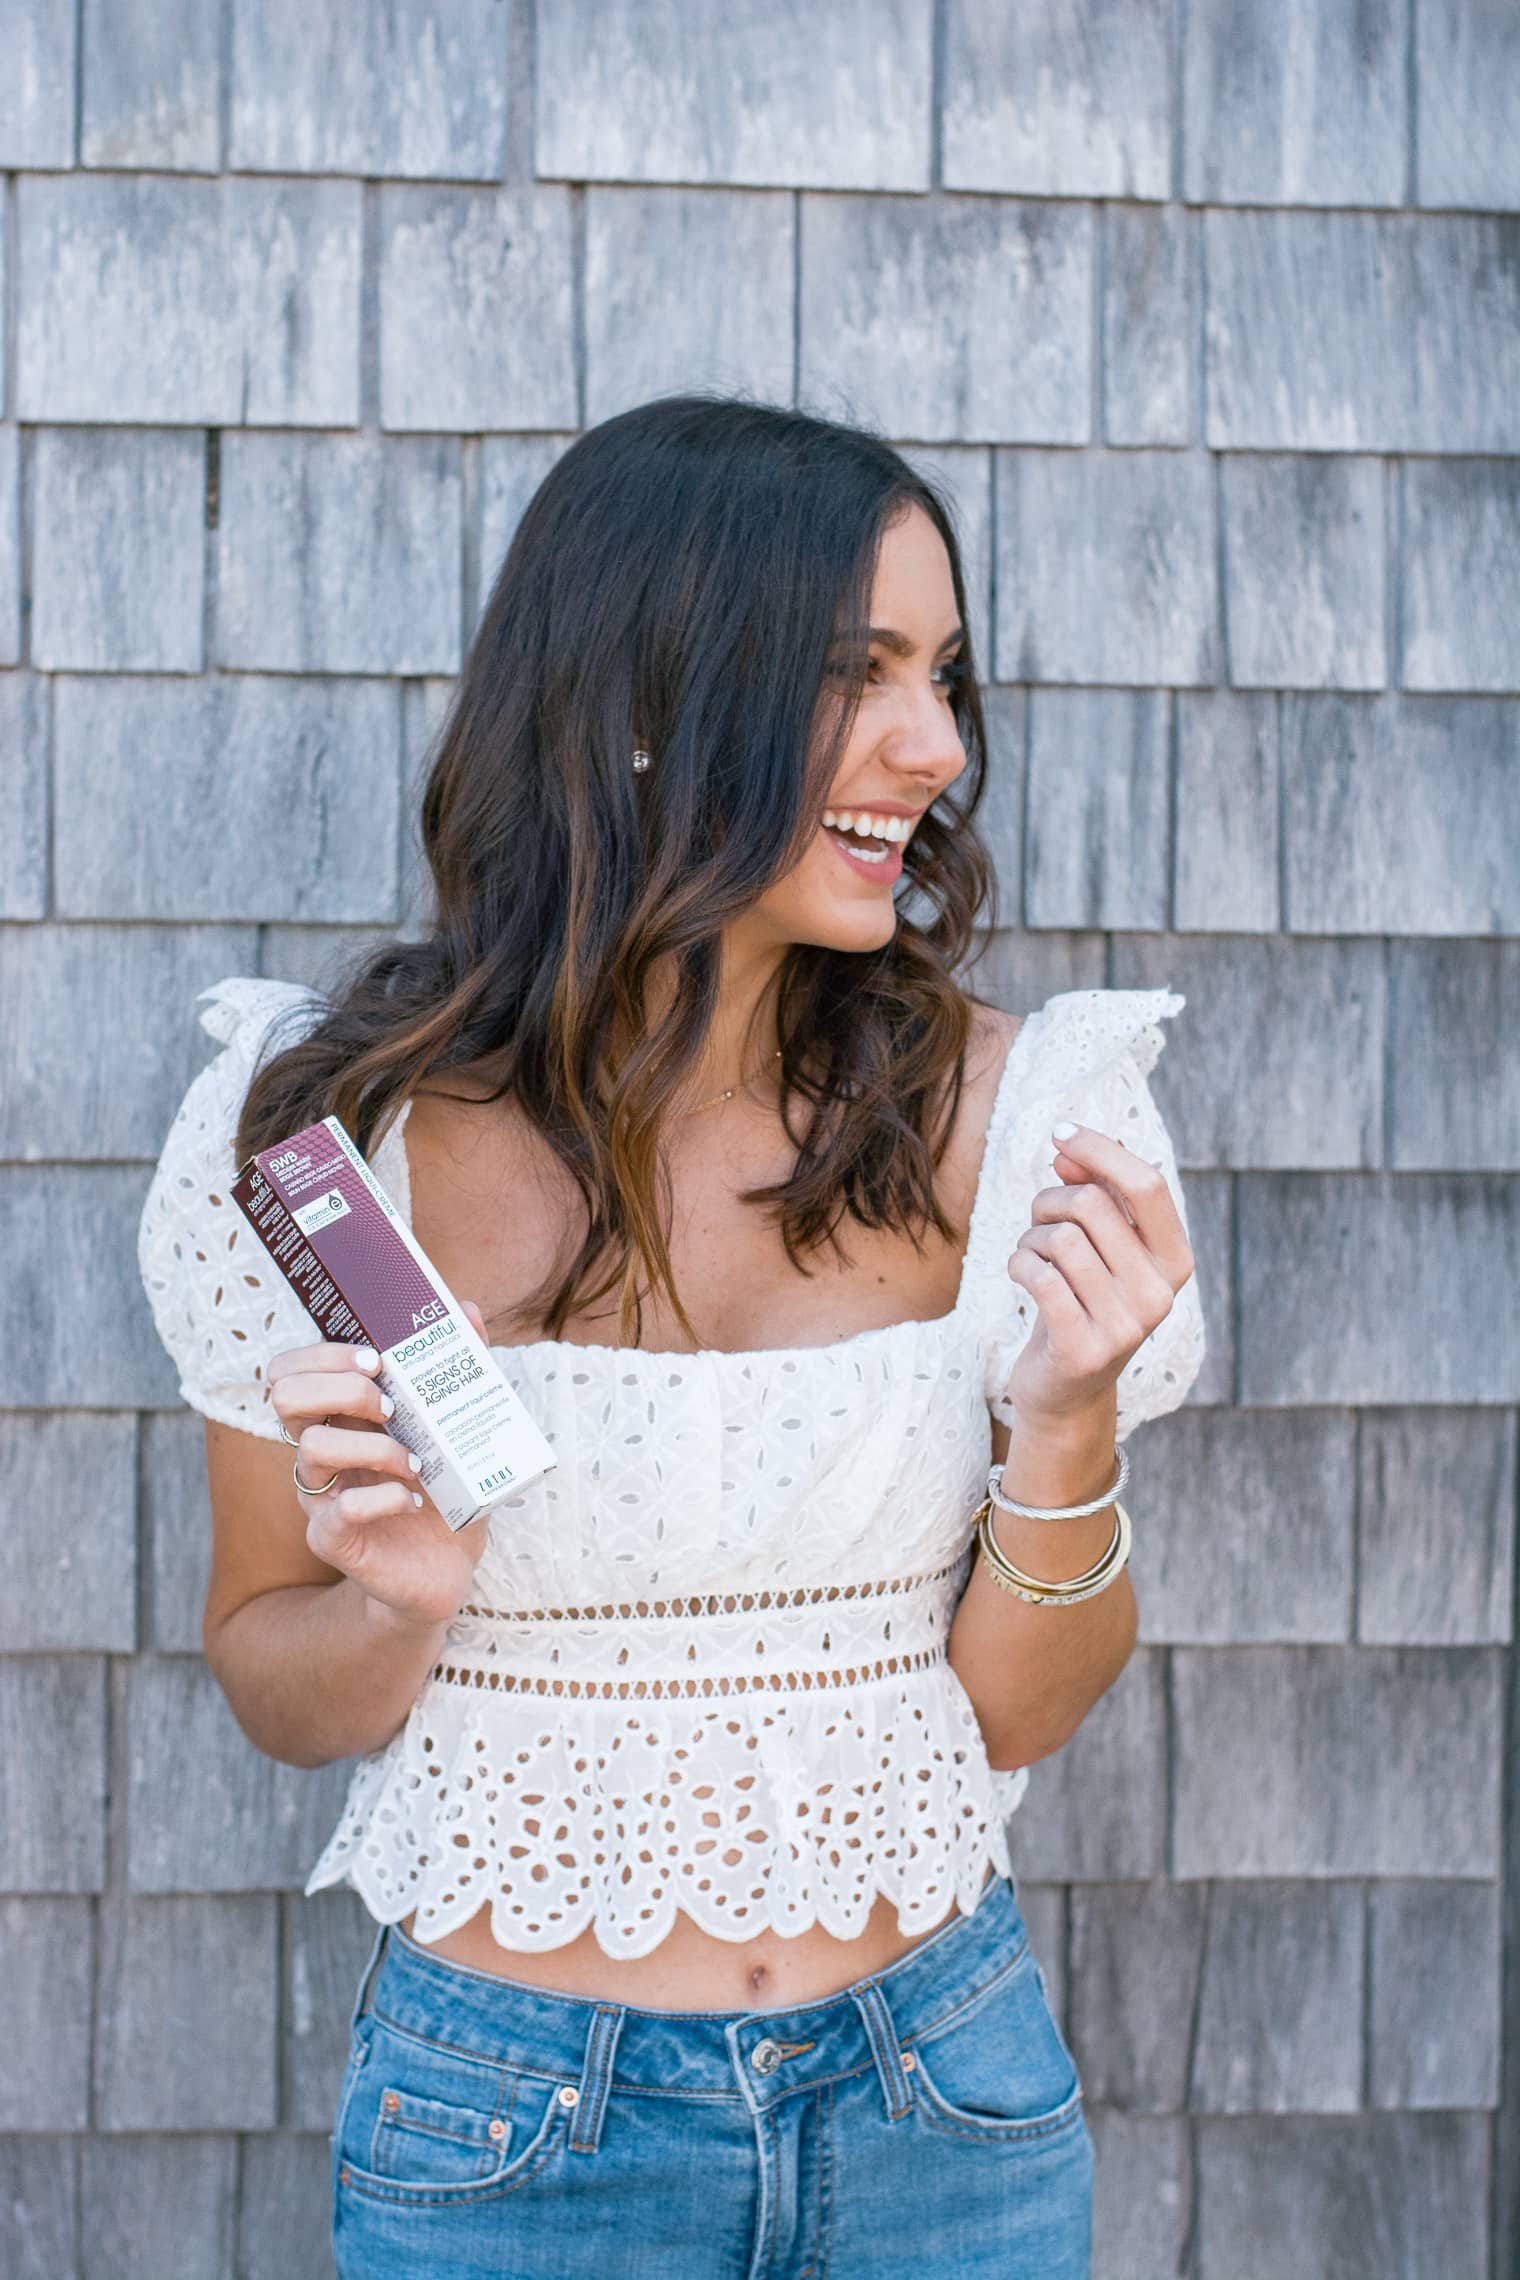 We all want salon quality hair, but don’t always have the money or time to visit a hairdresser every 6 weeks or so.
How to Apply a Full Professional Hair Color
Firstly, let me say that you shouldn’t apply a professional hair color at home if you’re looking for a really drastic change. It’s best to stick with a color that’s no more than 2 or 3 shades away from your natural color. If you go too dark, the color can be patchy, but going too light can result in orange locks.
1. Choosing Your Color
Get the color right and you’re off to a great start. It isn’t as simple as looking at the model’s hair on the box. Your natural color and hair make-up will interact with the dye to create a pretty unique color.
That’s why I recommend choosing something similar to your natural color so that nothing crazy happens.
First, you’ll want to figure out if you want a cool tone or a warm tone. You can judge this based on your eyes (if they’re warmer or darker) and based on your skin tone when not tan.
Make sure to buy two boxes if you haven’t used the dye before. There’s literally nothing worse than having half a head of dyed hair and running out of product. Unless you have a friend who can grab it for you within 30 minutes, it’ll be a really hard mistake to fix.
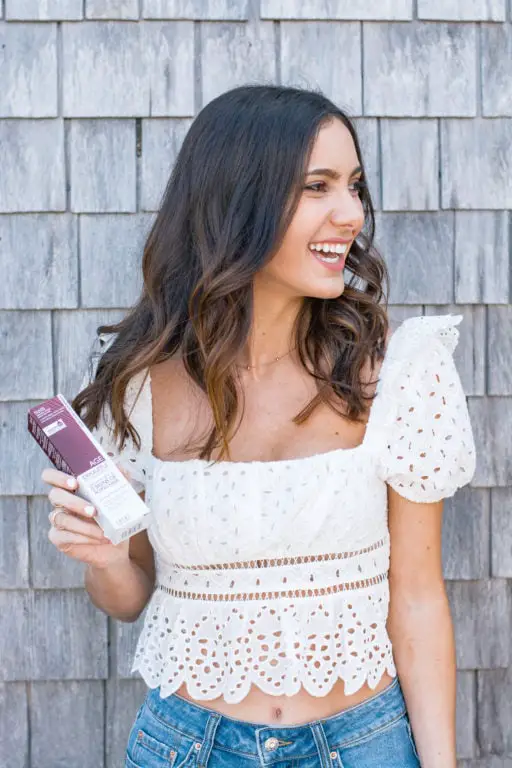
I use Zotos Professional AGEbeautiful Liqui-Crème anti-aging hair color in medium brown. It’s a 1 to 1 mixing ratio with a developer which is super simple. Add the developer to your mixing bowl or bottle first and then add the color. You also don’t need a processing cap.
My favorite thing about AGEbeautiful Liqui-Crème hair color is that the color comes out really similar to the photo on the box! AGEbeautiful Liqui-Crème hair color gives you 100% gray coverage and is sold exclusively at Sally Beauty. If you’re covering grey hair, go one shade lighter for the first time.
Go to your local Sally Beauty store and go to the AGEbeautiful color section and pick the shade that is right for you. Head to the bottom of this post for a discount code! 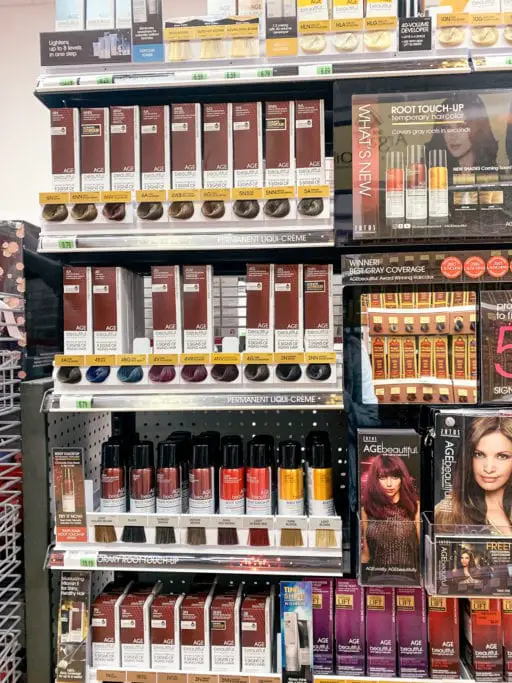
2. Gather Your Tools
There’s a few things you’ll need before starting the professional hair color dye process.
- Hair color
- Plastic gloves
- Petroleum jelly, vaseline, or conditioner
- Comb
- Hair clips
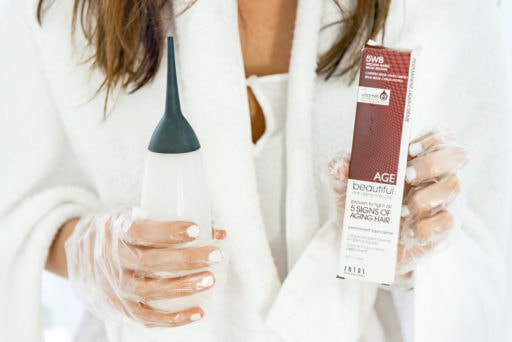
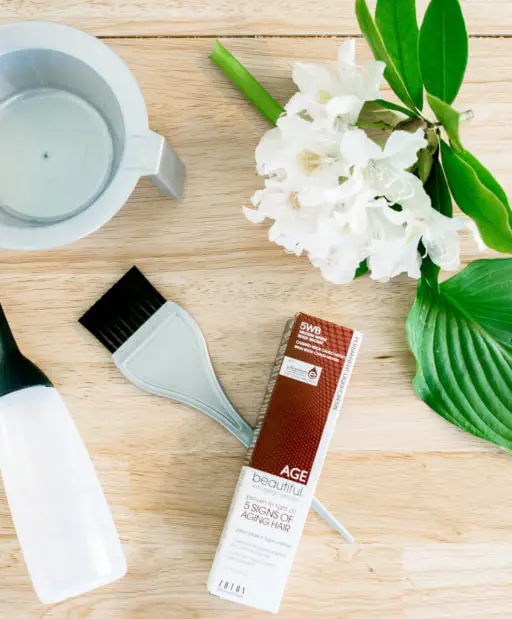
- Dye kit (brush and bowl or bottle)
- Color specific conditioner
3. Prep Work
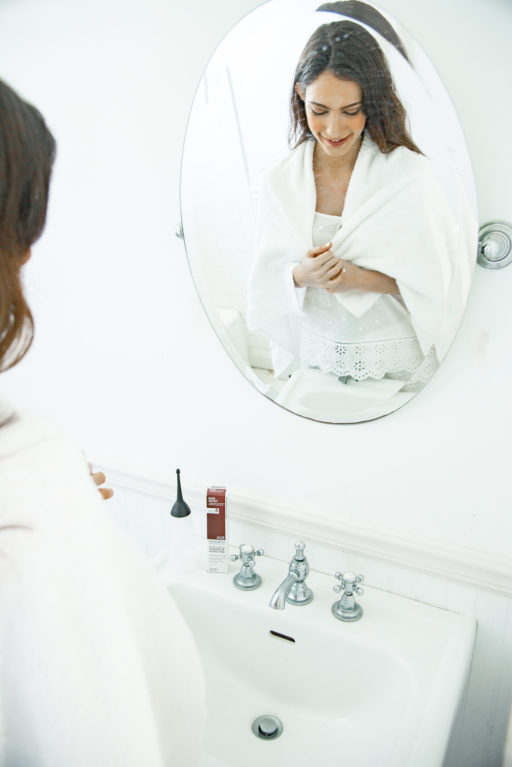
You’ll want to wear clothes that you don’t mind staining and set up an area that won’t absorb dye. You can also throw a towel or cape over your shoulders. Rub petroleum jelly, vaseline, or conditioner around your hairline and ears. You don’t want to leave dye on your skin for even 20 minutes; the stain will still be there a week later.
4. Strand Test (Optional)
Okay, so a lot of people skip this step. I get it: a strand test can feel like a waste of time, but trust me when I say that it’s worth it to test out one strand of hair so that you don’t end up with a full head of orange hair (which has unfortunately happened to me). If the results are too strong or patchy: Reduce the processing time by 10 minutes to be safe. If the results are too subtle and the color doesn’t show enough: Add an extra 5 minutes onto the processing time. You can also use heat during the process if it’s really subtle. If the color isn’t at all what you wanted, head back to the store and swap it out. Otherwise, you’re good to go!
5. Apply Professional Hair Color
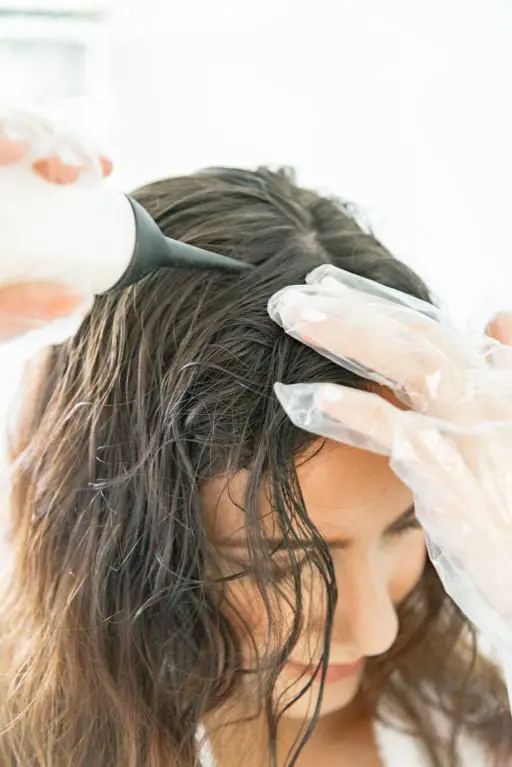
Always, always, always start at the top. The roots take much longer to absorb the color. I’ll usually mix a small amount of dye into the bottle and use the for my roots to make sure that they’re fully colored. For the rest of my hair, I’ll use the brush to get a more natural look. I do the top layer first, then once the dye is fully applied to the top layer, I’ll clip it up and work on the second. I like my ends to be on the lighter side, so I brush every other strand around the bottom of my hair. I also rinse it off quickly after.
6. Wash Your Hair
It’s best to rinse your hair right away after processing (in the shower: you need a really deep rinse) and then apply a conditioner.
7. Adjust As Needed
If the color is too strong, using a clarifying shampoo in the first 24 hours will help lessen it. You can also use a purple or blue shampoo to tone down any excessive brassiness. If the color isn’t strong enough, then you can either use a toner or plan to use a slightly darker shade in a few weeks.
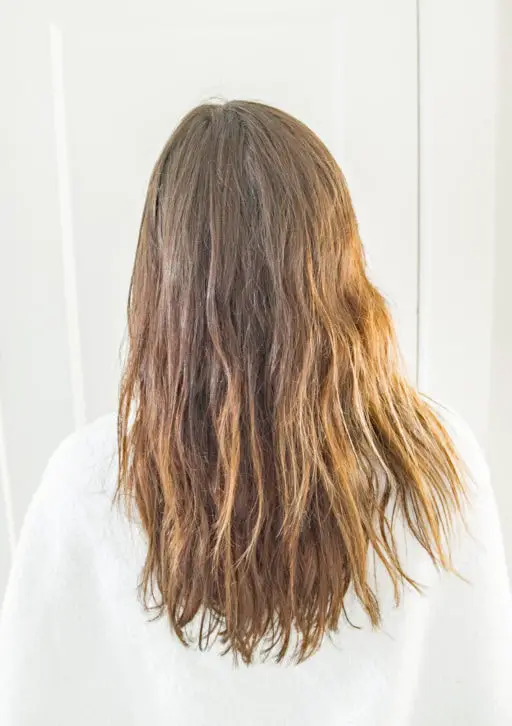
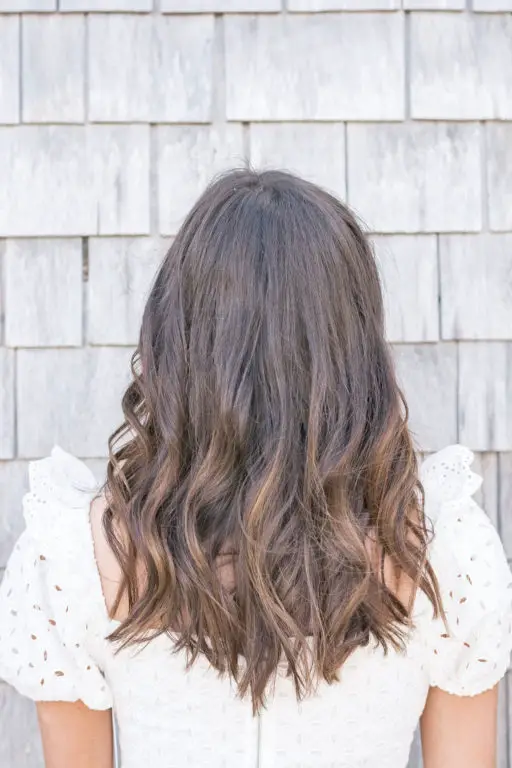
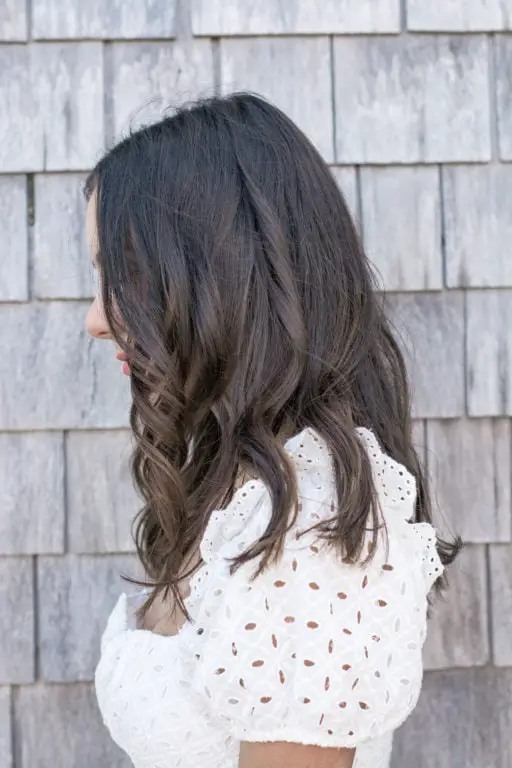
Before and After:
Here’s a clear comparison of my hair before and after applying a professional hair color. As you can see, it was pretty yellow/orange and brittle before. The after color still contains dimension but looks healthy and shiny. It’s easy to get some great dimension with an at-home hair dye job, especially if you’re using the brush.
Coupon code:
Here’s a special coupon code that can be redeemed at the register at Sally Beauty: Receive a FREE AGEbeautiful 4oz Developer w/ the purchase of any AGEbeautiful liquid-crème color by using the code 555983 in-store at Sally Beauty. This offer runs through August 1, 2019 (as supplies last).


In conclusion, applying a professional hair color at home can be a convenient and cost-effective alternative to visiting a salon. By following the instructions carefully, using the right tools and products, and taking necessary precautions, you can achieve salon-quality results in the comfort of your own home. Remember to do a patch test and strand test before applying the color to ensure safety and desired outcome. With practice and patience, you can master the art of at-home hair coloring and enjoy beautiful, long-lasting results.