Shellac nails are a popular and long-lasting nail treatment that provides a glossy, chip-resistant finish. While getting them done at a salon can be expensive, you can easily achieve the same professional results at home with the right tools and technique. In this step-by-step guide, we will walk you through the process of doing Shellac nails at home, saving you time and money while still achieving a flawless manicure. From preparing your nails to applying the Shellac polish and curing it under a UV lamp, we will cover all the necessary steps for a beautiful and durable Shellac nail finish.
How to do Shellac Nails at Home (Step by Step Guide)
If you want to do a Shellac manicure at home, this post has everything you need to know on how to do Shellac nails. You don’t need to be a nail technician to have beautiful nails, as with the right tools you can easily create the same look at home.

Shellac is the name of a brand of gel nails by the company Creative Nail Design (CND). Shellac polish is essentially the same as other gel polishes, but the key difference is that Shellac is thinner and easier to take off. Like with all gel polishes, Shellac can last up to two weeks.
There are many types of gel polish you can get, and some brands like Gelish are very similar to Shellac. Like Shellac, Gelish is easy to remove and won’t damage your natural nail, unlike harder gel polishes that need to be buffed off.
The polish that was used in this demonstration is Gelish, however these instructions can be used for Shellac or other gel polishes. I hope this post is helpful to you in creating your own Shellac nail designs at home.
This post is all about how to do Shellac nails
HOW TO DO SHELLAC NAILS
1. File Your Nails to Your Desired Shape
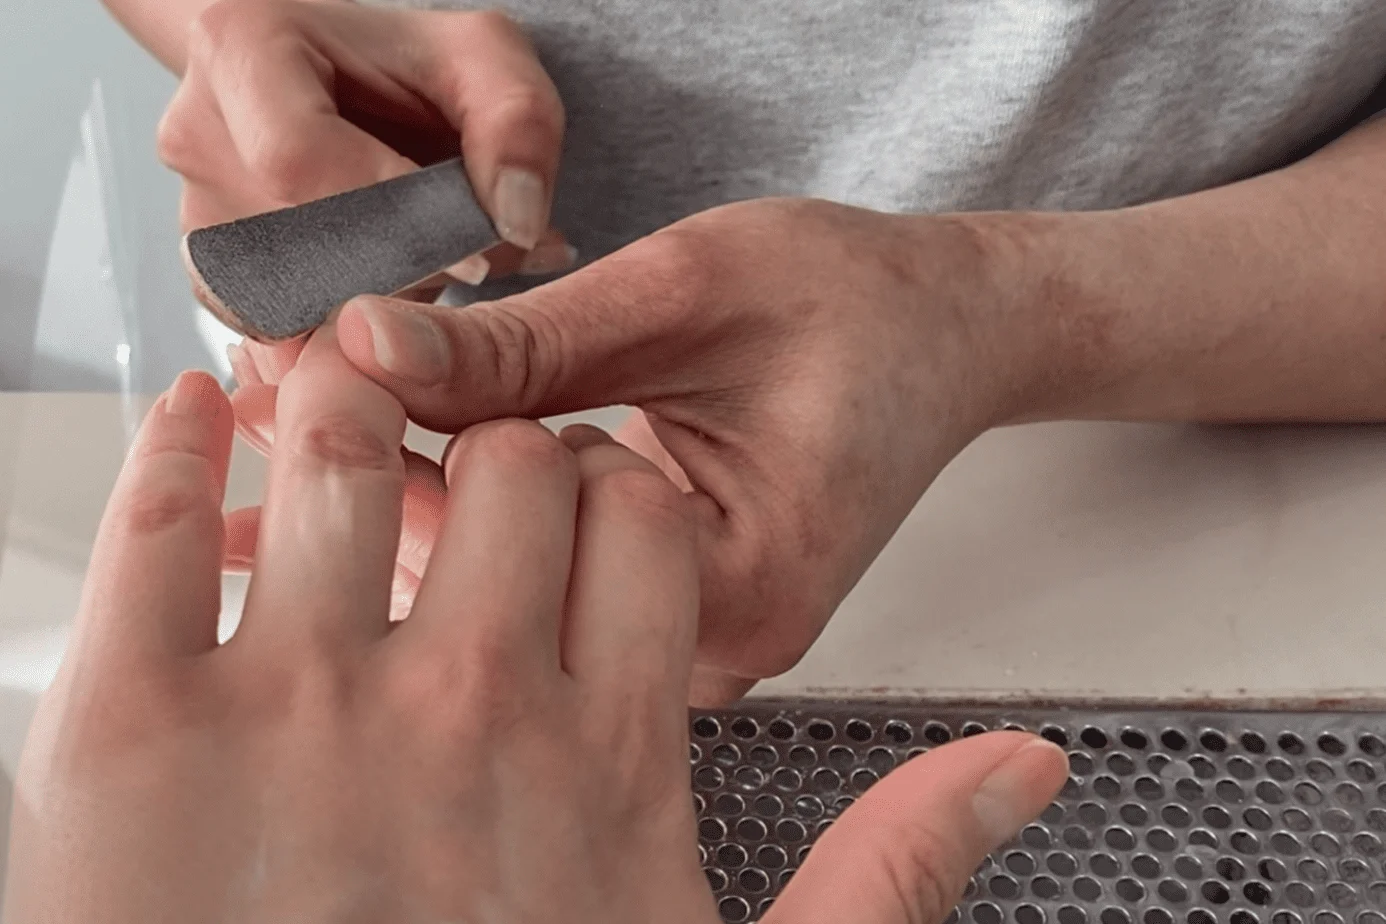
The first step is to file your nails to the desired shape and make sure they are all neat and even. You can use a regular nail file for this step. I chose to have my nails filed to a round shape, but there are many other shapes to choose from including square, almond shape or oval.
You can use the image below to help you decide what you want your nails to look like. I wanted my nails to look a more natural shape, so in my manicure they are filed round (close to the picture in the top left in the image below).

2. Tidy Your Cuticles
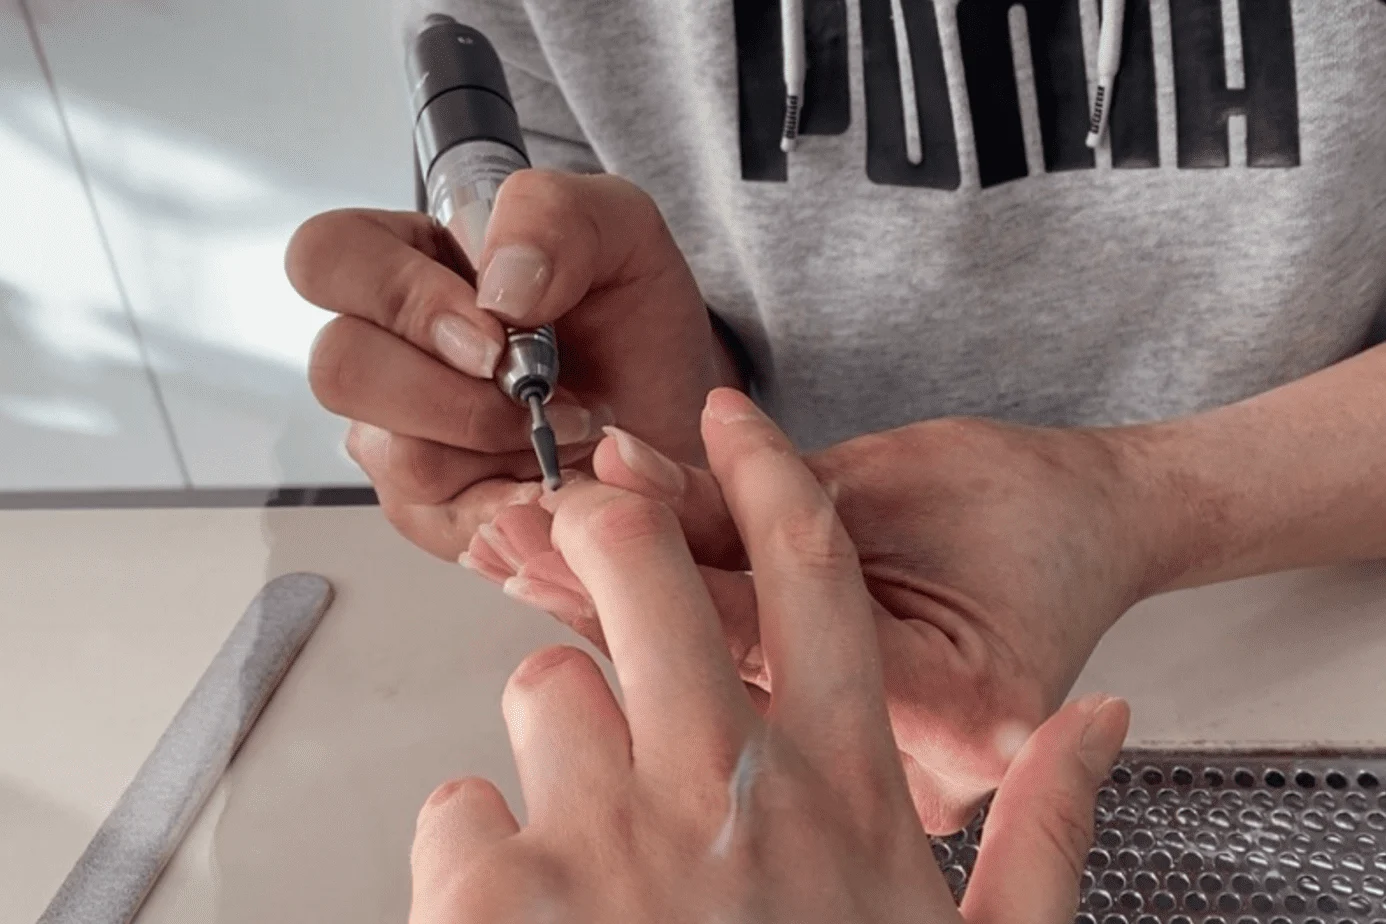
The next stage is to tidy up your cuticles. This ensures that your polish goes on neatly and evenly, and gives the illusion of a longer nail bed. There are lots of different tools available for tidying up your cuticles including a cuticle pusher, wooden cuticle stick or cuticle remover cream.
When you trim your cuticles, be careful not to remove too much because your nail cuticles help to protect the nails from infection. You should just remove enough to ensure the nails are all even and the polish can be applied neatly.
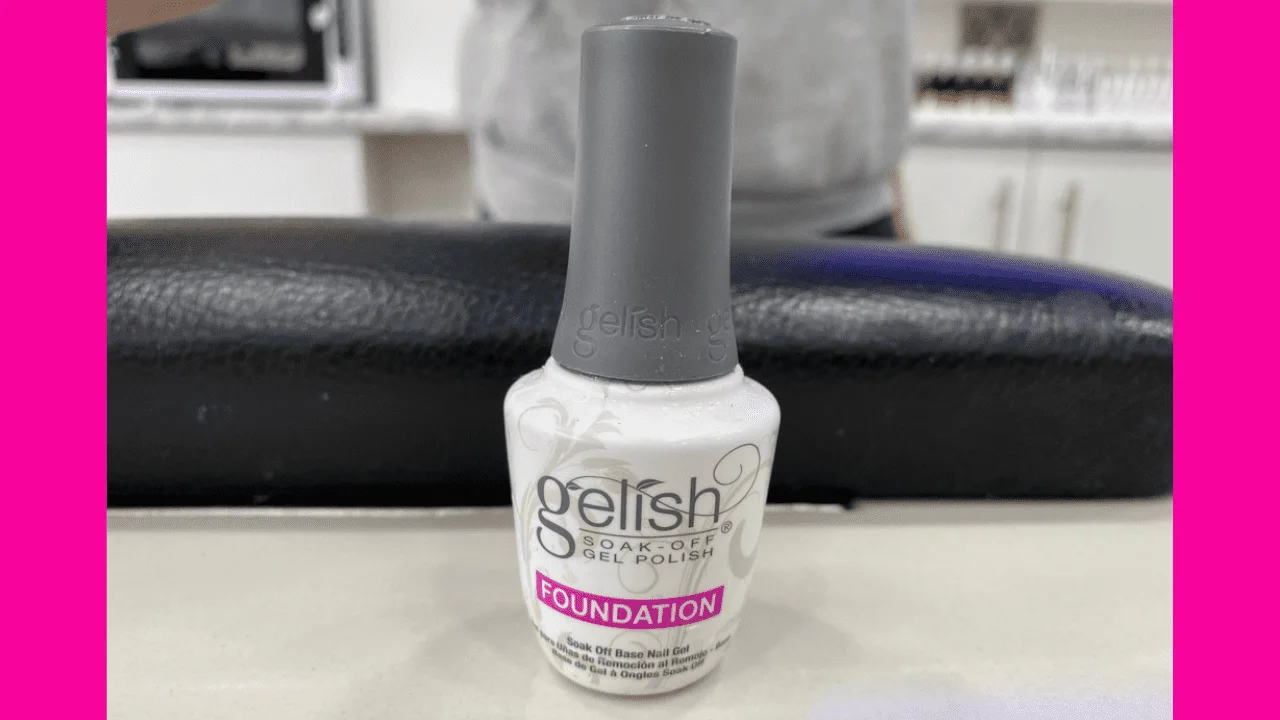
3. Apply a Base Coat
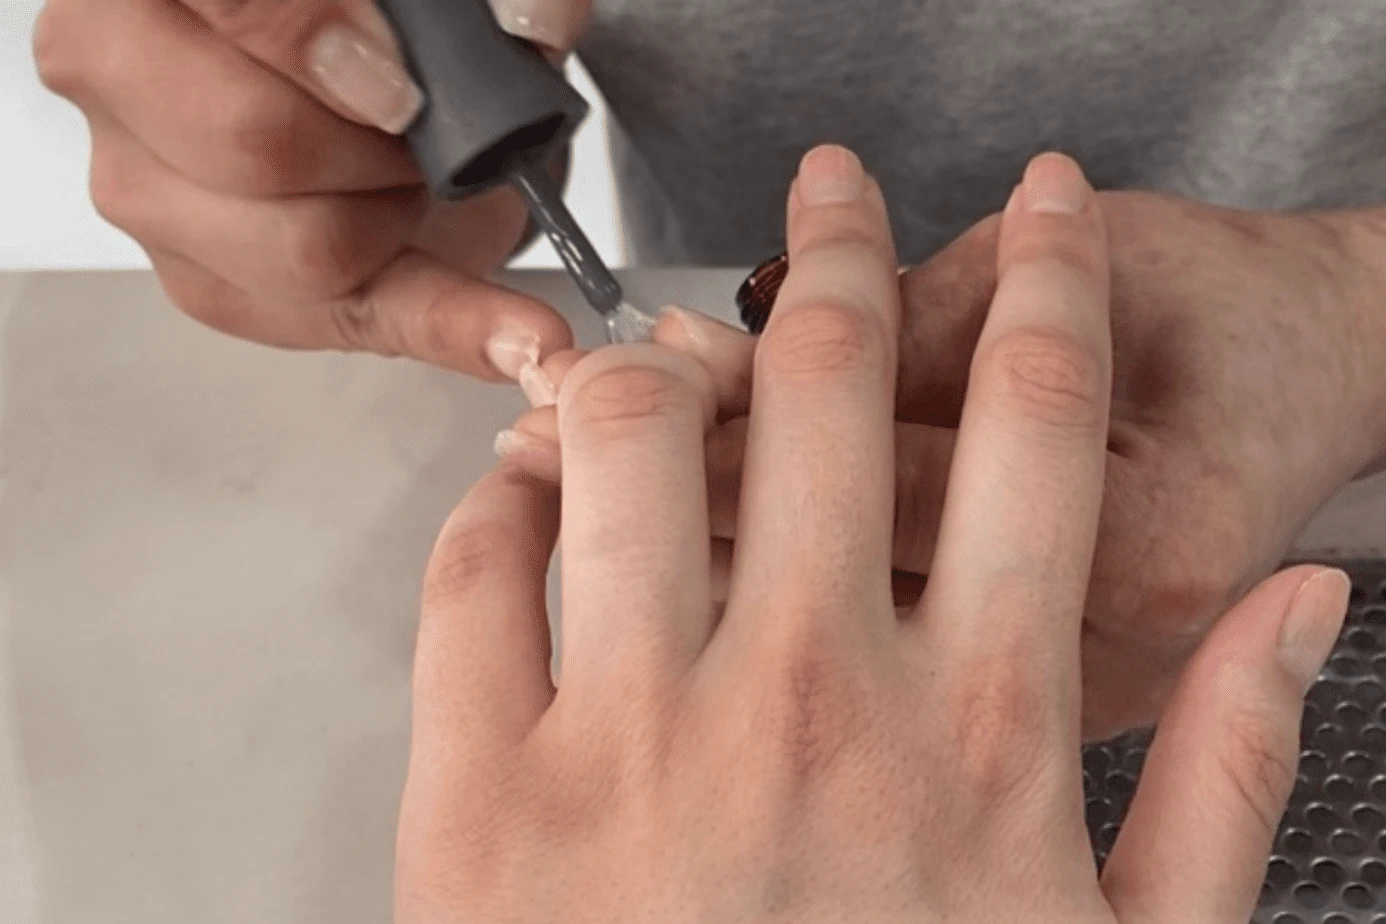
Next, apply your base coat, but before you do this make sure you wash your hands first so your nails are completely clean. You could also use an alcohol wipe to clean each nail.
The product that was used on my nails was the Gelish Foundation Base coat. This product helps to protect your natural nails. It also creates a bond between the nail and any Shellac or gel polish that’s applied on top.
If you use either Shellac or gel polish, you will need either a LED or UV nail curing lamp to dry the polish, and this includes for the base coat and top coat as well.
4. Dry the Base Coat with a Nail Lamp
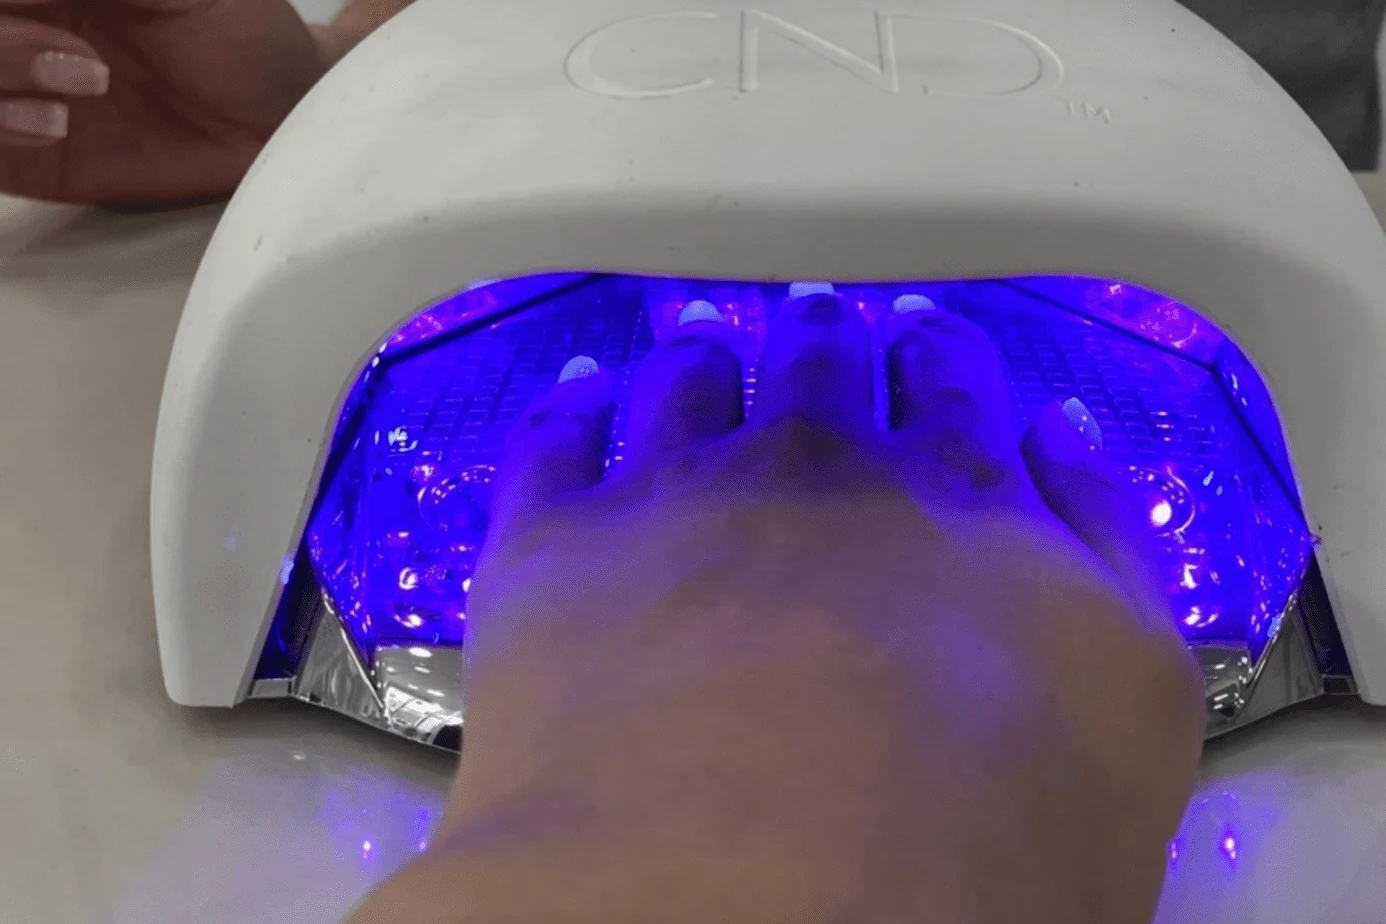
Once you have applied your base coat, put your hand into the nail lamp so your nails can dry. Nail lamps have timers so the light will turn off after enough time has past. With the CND lamp, which was used for my nails, it turned off after one minute.
I’m aware the CND lamp is quite expensive so I’ve researched some more affordable options that still work in the same way. If you want to find a nail lamp that’s less expensive than the CND nail lamp, check out my post on the best LED and UV nail lamps.
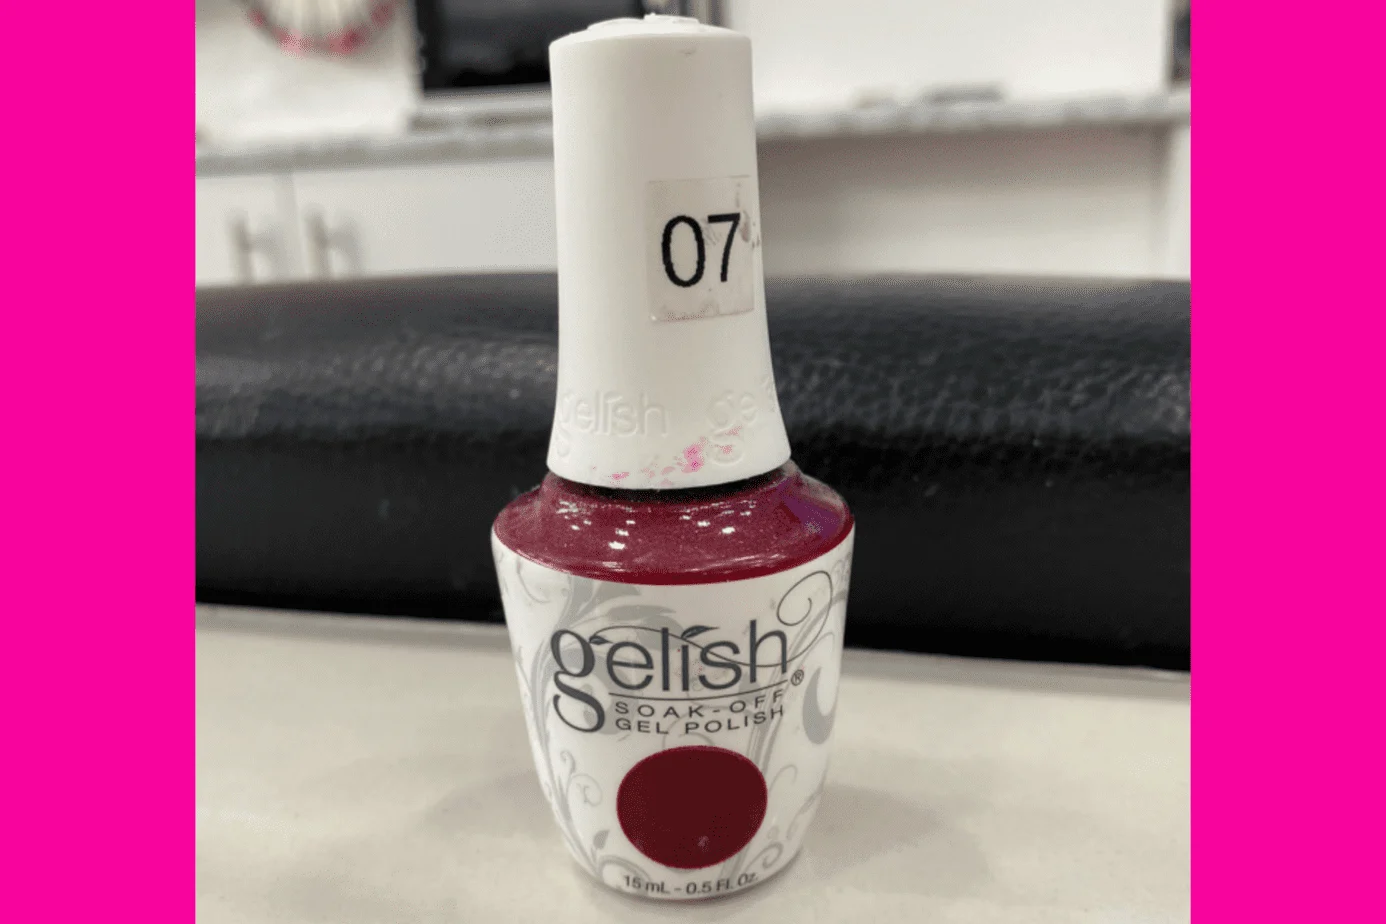
5. Apply the Polish and Dry it with the Nail Lamp
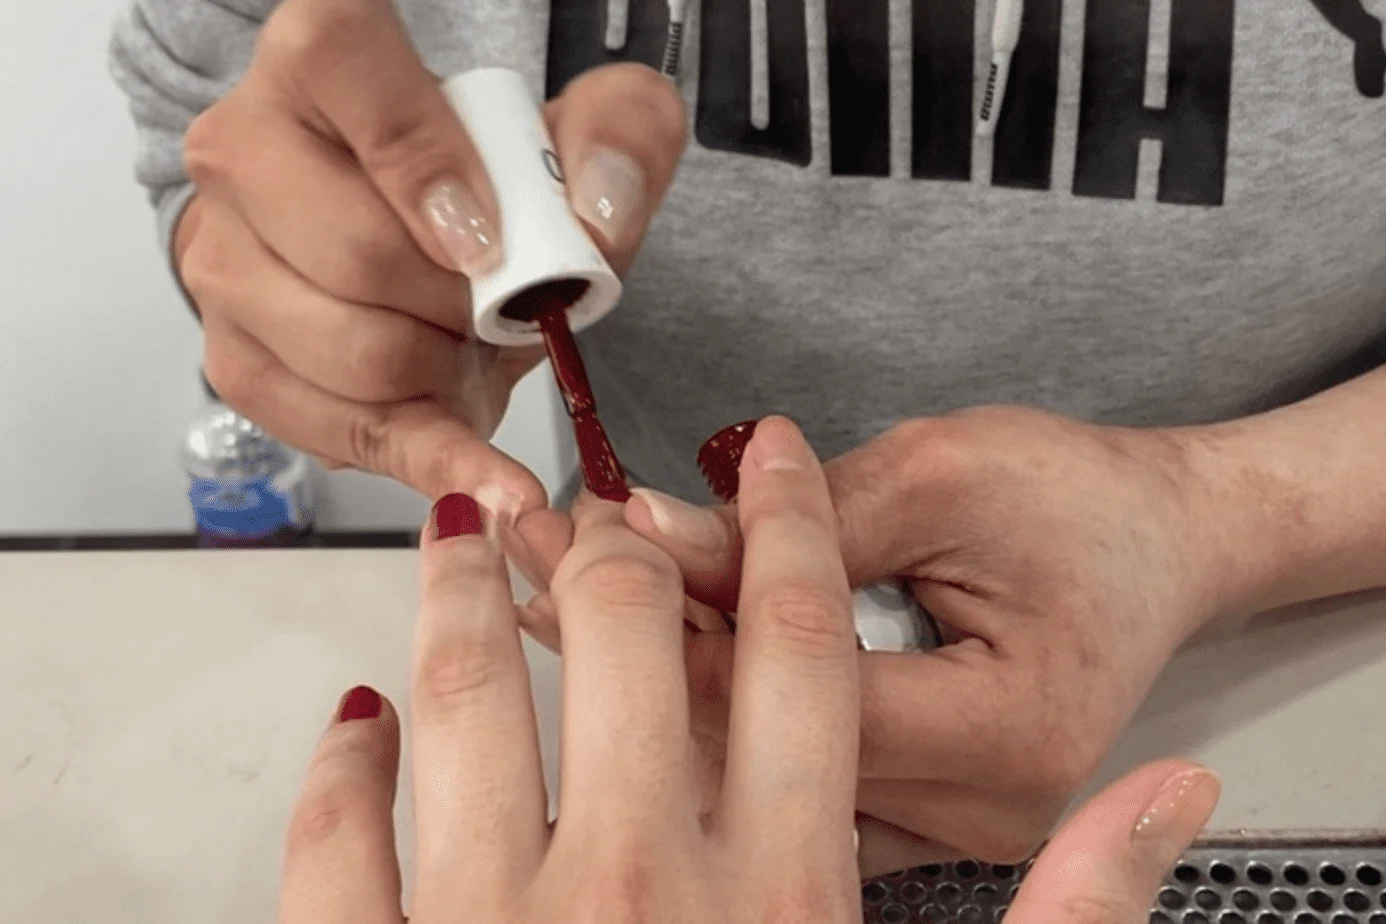
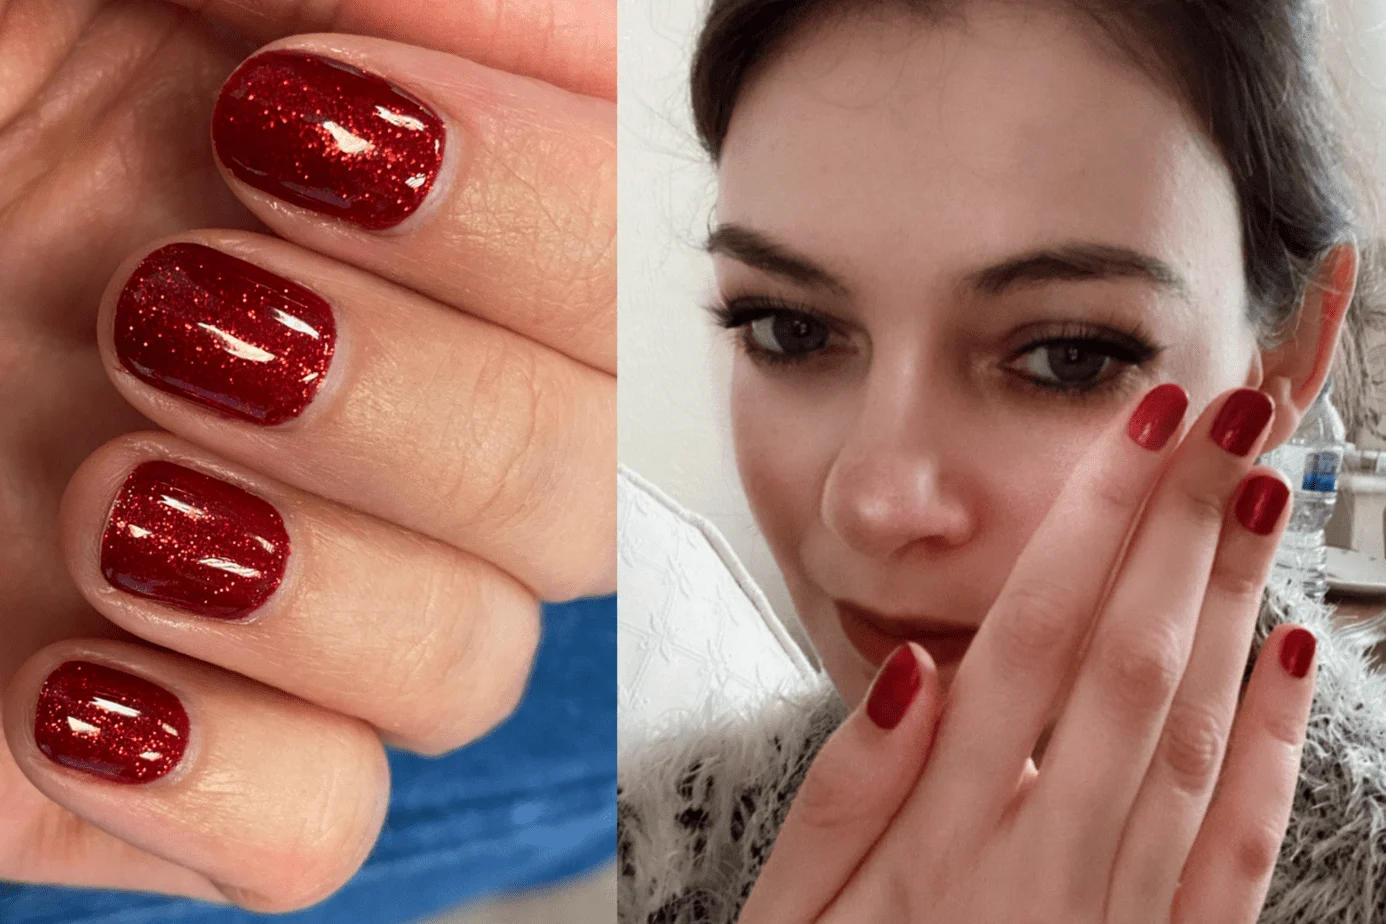
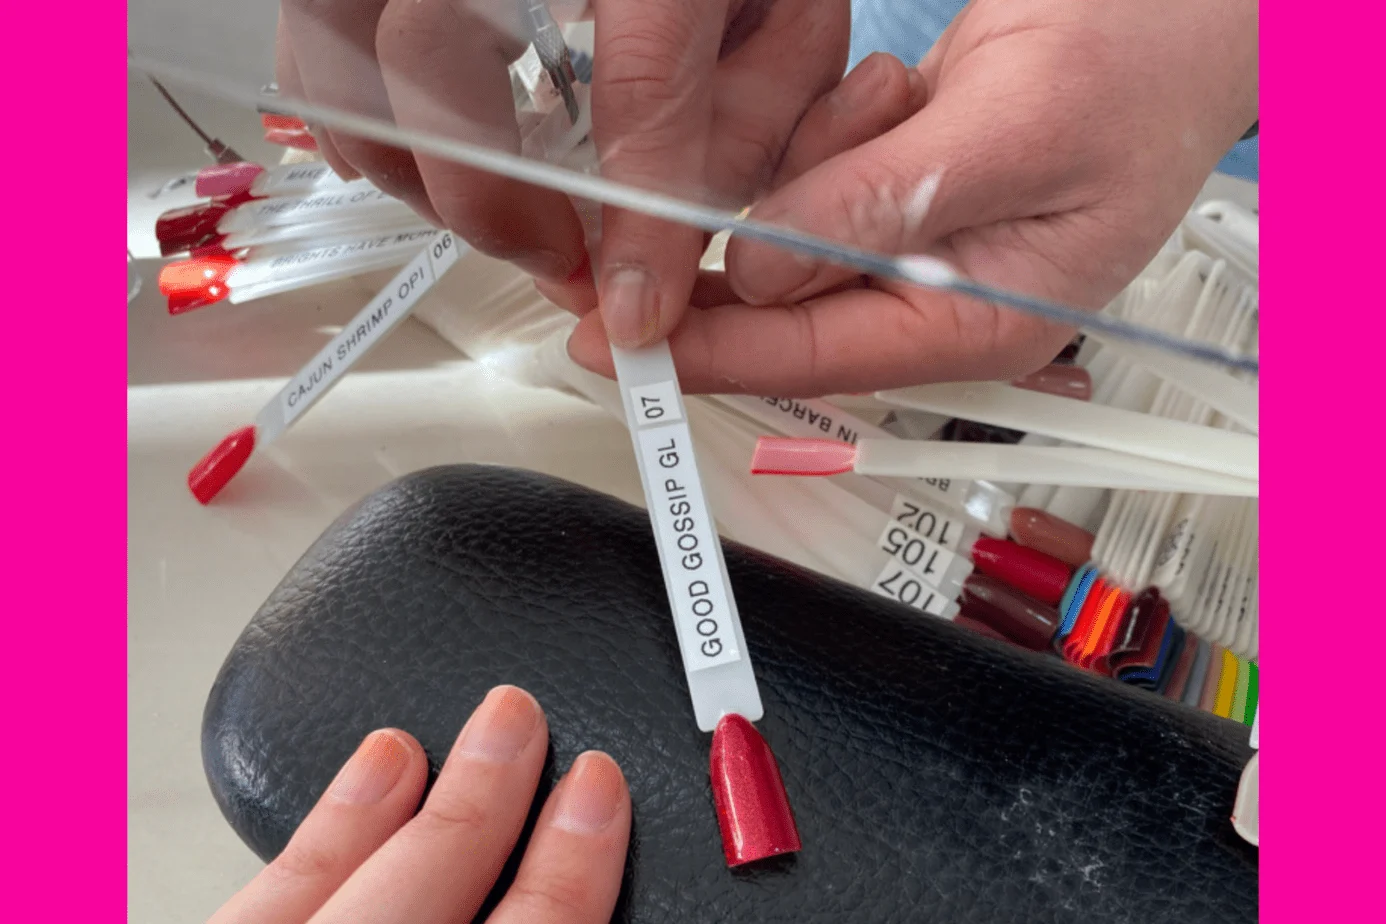
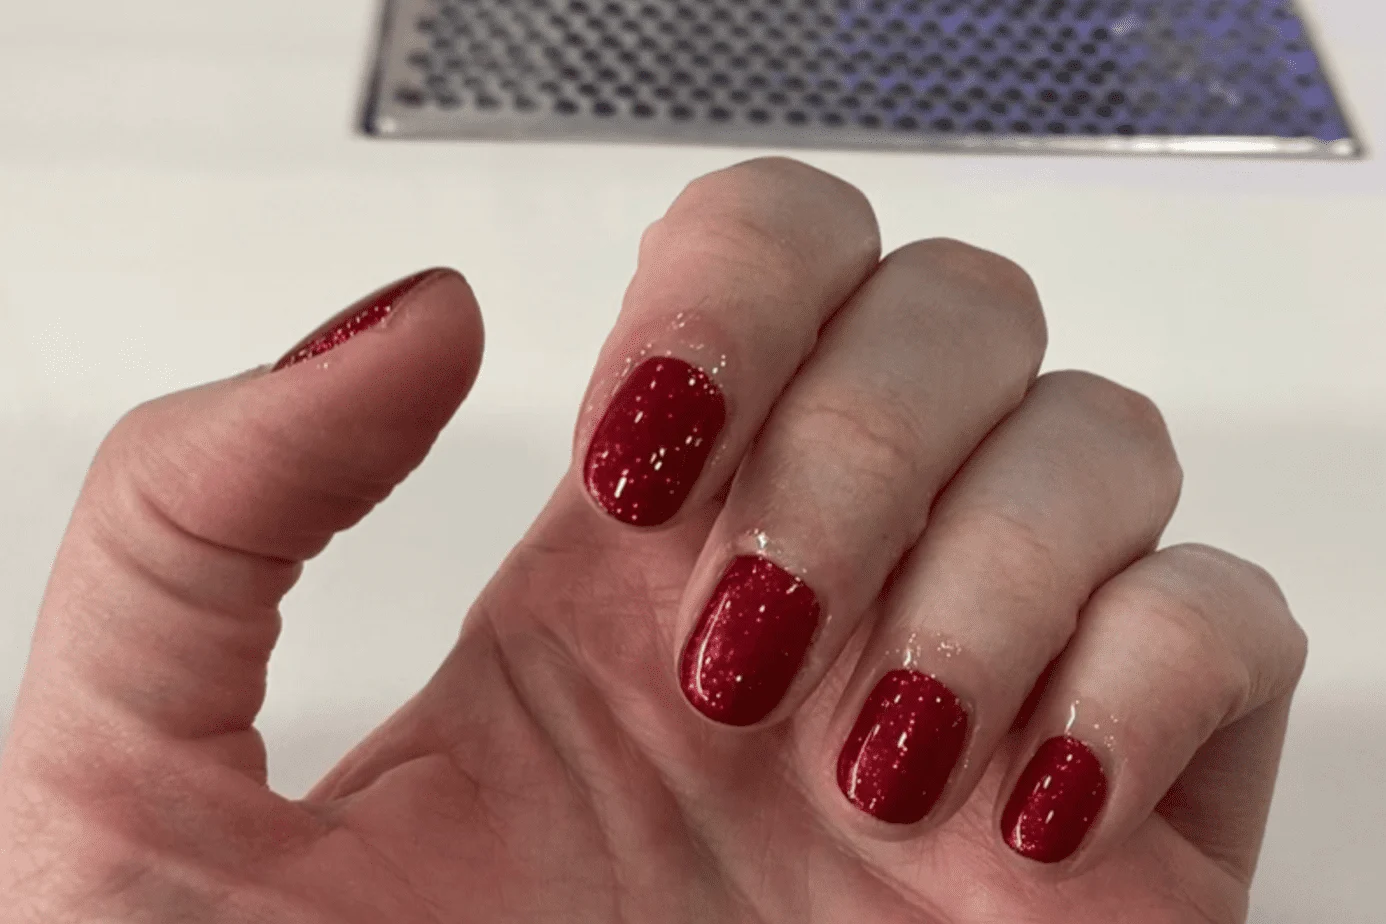
Finally, after the base coat has dried, you can start applying your polish! The polish that was used on my nails was the Gelish soak of gel polish. I chose colour number 7 which was a sparkly red. Gelish make a wide selection of vibrant shades and also have sparkly options!
If you don’t want to use Gelish, there is a large selection of different gel polishes available to order online in different colours. They include CND Shellac polish, gel polishes which glow in the dark, and gel nail polish that changes colour with your body temperature!
The colour I chose looks red but actually has a sparkle to it! I think it would be a great choice for Christmas parties, or as a base colour for a creative nail design.
After applying the first coat, put your hand again into the nail lamp to dry the polish. You may wish to apply two coats of colour to make the overall colour richer.
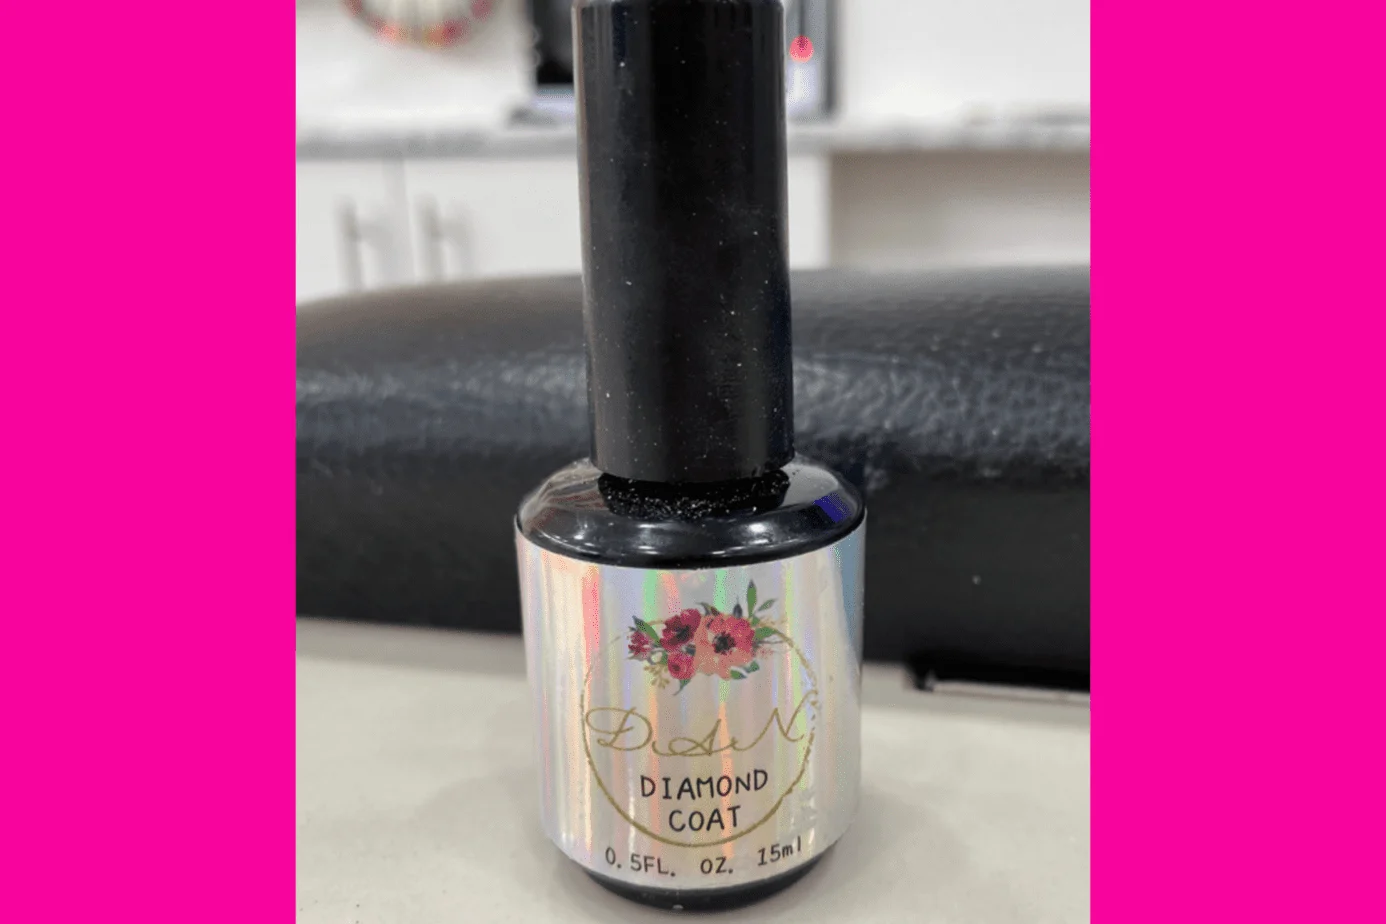
7. Apply the Top Coat and Dry it with the Nail Lamp
The final stage is to apply the top coat. The top coat helps to give extra shine and prevent your nail colour from getting chipped or scratched. After applying the top coat you need to again put your hands into the LED or UV lamp.
The top coat is an important step in a gel manicure as it adds a layer of protection over the surface of the nail. You only need to apply one layer of top coat to keep the top layer of polish from becoming damaged.
8. Apply Cuticle Oil
Once the nails have dried apply some cuticle oil around your cuticles. This helps to soften and moisturise the skin around the nail and prevent the skin from cracking.
Although your nails are dry to touch, you should still be careful for the next ten minutes. I picked up a coffee cup after taking my hand out of the nail lamp and it left a tiny dent in one of the nails!
How Long Does it Take for Shellac Nails to Dry?
If you are using Shellac nail polish, the polish takes one minute to dry under the CND LED Lamp. Even though the polish is dry however, be careful straight after taking your hand out from the lamp.
I would wait for a few minutes before under taking any task where your nails may be knocked. I got a dent in one of my nails because I was so eager to drink my coffee after taking my hand out of the lamp!
Gelish Vs Shellac
If you go for a professional manicure, all skilled nail artists will tell you that Gelish and Shellac are both brands of gel nails which need to be cured under LED or UV lamps. They are essentially the same thing, and both take around 30-45 minutes to apply.
There are however a few slight differences between the two. The list below will help you decide which is right for you.
Benefits of Shellac over Gelish
- Shellac is easier to remove (it takes 5 mins max)
- Shellac is thinner and looks more natural
- Shellac formula is more similar to a traditional nail polish
Benefits of Gelish over Shellac
- Gelish is harder than Shellac and will last longer (up to 3 weeks)
- Gelish have 223 colors, whereas Shellac only have 116
- Gelish have more bright, shiny and sparkly options than Shellac
When I was researching the differences between Gelish and Shellac, I came across a fantastic website called “Broke my Nail”. The owner, Nathalie wrote a great comparison between Gelish and Shellac that you can view here.
How to Remove Shellac or Gel Nails
There are two methods for removing Shellac or gel nails – the soaking method or the foil method. The foil method is better if you have sensitive skin as it limits your contact with the acetone.
The removal process should only take around 15 minutes. You will need nail polish remover (acetone), aluminum foil (tin foil), cotton wool balls or cotton pad, cuticle remover, and a nail buffer.
Soaking method for Removing Shellac or Gel Nails
- Use a nail buffer to buff the surface of the nail
- Place your nails in a bowl of acetone for 5-10 minutes
- Remove the nail using a cuticle pusher
- Use the nail buffer to remove any gel remaining
Foils method for Removing Shellac or Gel Nails
- Use a nail buffer to buff the surface of the nail
- Soak a cotton ball in acetone and place it on your nail
- Wrap a piece of foil around the nail to keep the cotton wool against the nail
- Leave for 10 minutes
- Remove the foil and use a cuticle pusher to remove the nail
- Use the nail buffer to remove any gel remaining
This post was all about How to do Shellac Nails
Thanks for reading my post about how to do Shellac nails at home. I hope this step by step guide was helpful to you if you are thinking about doing a DIY Shellac manicure. Please let me know in the comments below if you have used gel or Shellac and how you got on.
In conclusion, doing Shellac nails at home can be a cost-effective and convenient way to achieve salon-quality results. By following the step-by-step guide provided, you can easily master the technique and have long-lasting, chip-free nails that shine for weeks. Remember to invest in quality products, take your time with each step, and practice proper nail care to maintain the health and beauty of your nails. Give it a try and enjoy the benefits of professional-looking Shellac nails from the comfort of your own home.