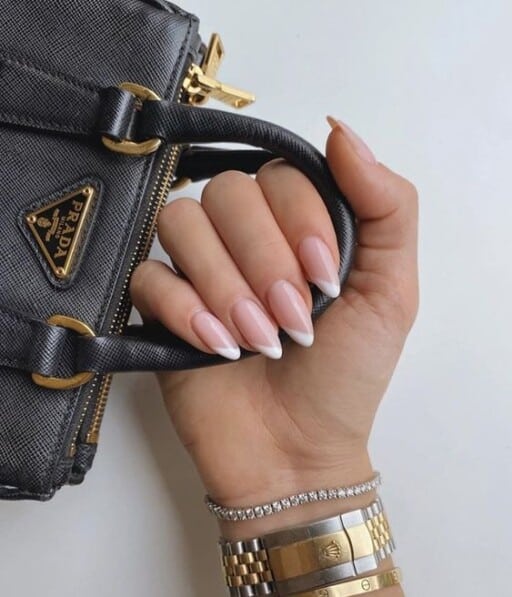
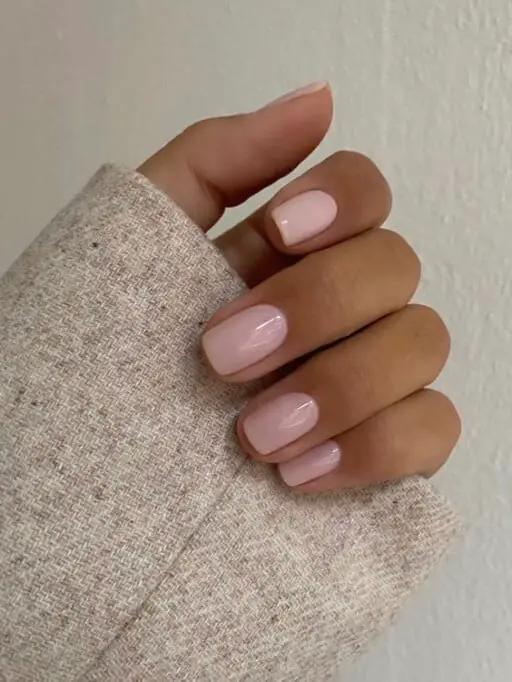
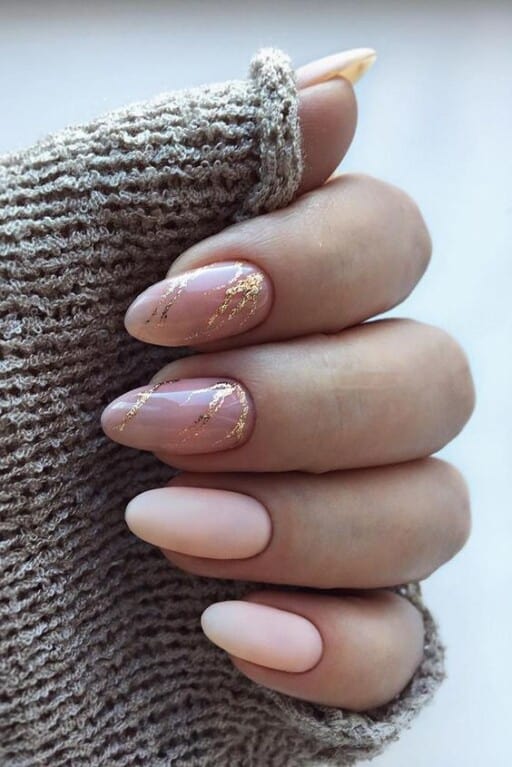
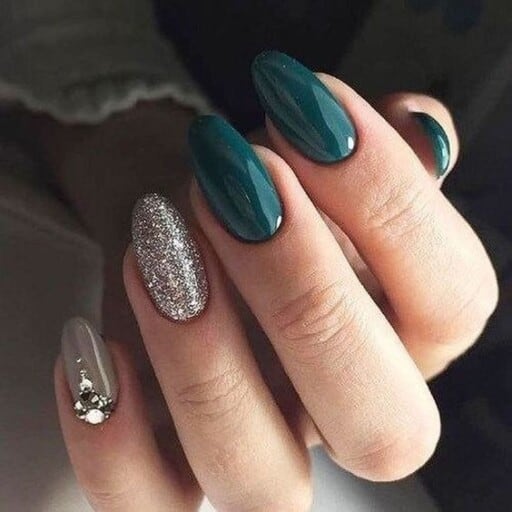
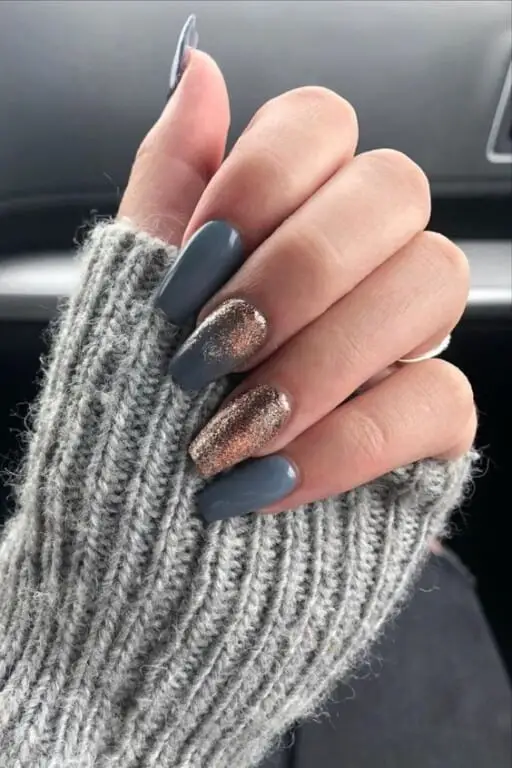
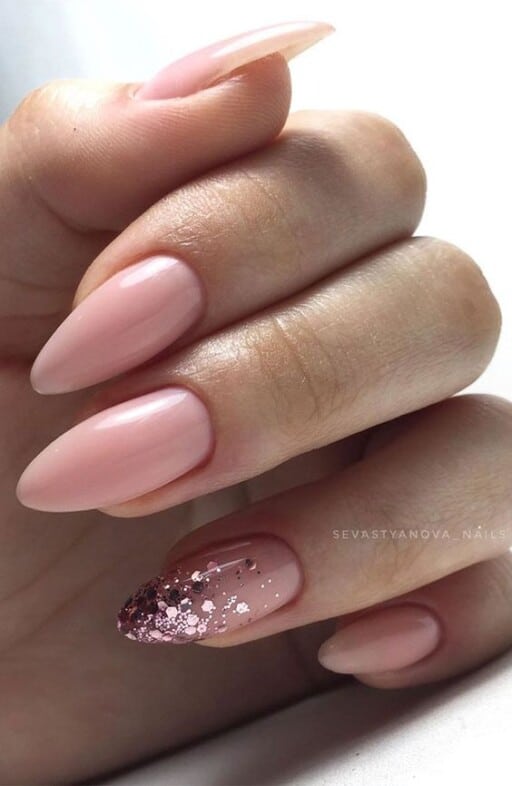
Dip nails are the latest trend in the world of nail art, offering a long-lasting and durable alternative to traditional acrylic or gel nails. If you’re looking to achieve a flawless and professional manicure at home, this master guide to dip nails is your go-to resource. From preparation and application techniques to maintenance tips and troubleshooting common issues, this comprehensive guide covers everything you need to know to perfect your dip nails. Say goodbye to frequent salon visits and hello to stunning nails that last for weeks on end with this step-by-step tutorial.
A few years ago, everyone I knew had gel nails. Nowadays, dip nails are what’s in.
There are so many great things about dip nails compared to gel nails and the price is comparable. I personally get only dip nails now, but it took me a while to figure out exactly what I wanted.
Because I’m such a huge enthusiast of dip nails and have watched my own nails finally grow by getting regular dip manicures, I wanted to write this post with every bit of info I have learned about dip nails.
I included info about dip nails in the new few sections, or you can skip to the bottom if you want to see my favorite dip nail trends that are hot right now!
Related Posts:
- Press On Nail Tips to Order Online + Application Tricks
- How to Do Gel Nails at Home | Shellac Nails at Home For Any Budget
- Natural Acrylic Nails: 50+ Tips And Inspo Photos To Get The Perfect Nails
Dip Nails vs Gel: What’s The Difference?
Dip nails and gel nails are done completely differently.
Gel nails are painted (one coat at a time) then hardened using a lamp, while dip nails are painted, dipped, and then harden on their own. No light is used.
Both dip nails and gel nails will last about 2-3 weeks, depending on your nail growth.
One huge difference for me is that gel nails tend to crack or chip after 2 weeks, while dip nails are incredibly strong and thick. They’ll last as long as you want and you won’t need to get them redone until your nails grow out.
The reason I choose dip nails over gel nails is because dip nails are so strong. My natural nails tend to break very quickly (even when I have gel nail polish on them), but dip nail polish is so strong that it allows my nails to grow without breaking.
As long as I take the dip powder off and do my nails again immediately, they have a clear chance to grow. I have honestly never had nails this long that are 100% natural!
While my nails were growing out, I asked my nail technician to use gel tips. These tips sit on the very edge of the nail (unlike acrylic nails) and create the exact length that you want. They fall off easily with gel nails, but dip nails are strong and protect the gel tips from breaking.
Once your nails are the appropriate length, you can stop using gel tips and can work with your own nails.
Dip nails and gel nails are removed in the same way, using a bit of acetone (after filing off the top coat of the nail that protects the product) and tinfoil or nail clips. The removal process takes about 15-20 minutes, but your nails will still be in good shape if it’s done correctly.
To sum it up, dip nails and gel nails are similar (and take about the some amount of time to do), but I find that dip nails are better because they’re much stronger and last longer. When I’m thinking about dip nails vs gel nails, I always choose dip.
Dip Nails vs Acrylic: What’s The Difference?
If you’re considering dip nails vs acrylic nails, I again (surprise, surprise) recommend dip nails.
Dip nails vs acrylic nails (unlike dip nails vs gel nails) are super different from each other. Dip nails are done with a powder over your real nail, while acrylic nails are literally fake nails glued over your real nails.
Many people like acrylic nails because they come out so perfect, but if dip nails are done well, they’ll be nearly as perfect because they’re so thick.
Acrylic nails tend to ruin your own nails. Dip nails, on the other hand, can help your nails grow because they’re a protective covering.
If you’re wondering how much dip nails cost, then you should know that acrylic nails cost way more (sometimes more than double). Both types last the same amount of time, which is until your nails grow out and you need to have them redone.
Lastly, acrylic nails can be painful to remove and can only be done professionally. Dip nails are 100% painless if done correctly and can even be removed at home if you know what you’re doing.
If you’re considering dip nails vs acrylic nails, I recommend dip nails any day of the week!
Pros And Cons Of Dip Nails
There are many, many pros and cons of dip nails that you want to be aware of before you get them done. I didn’t know these pros and cons of dip nails before my first appointment and I definitely made a few mistakes during that.
Pro: Dip Nails Are Thick
My favorite part of dip nails is how thick they are. They don’t chip or break easily and they almost always last until your next nail appointment, unlike gel nails.
Con: Dip Nails Can Be See Through
The first time I got dip nails done, I didn’t realize how see-through they would be. They looked terrible!
I later realized that I chose a light color and didn’t check to make sure the nail technician was qualified, so she didn’t do enough coats using the dip powder. With lighter colors, you’ll need 3-4 coats.
Now, if I’m seeing a new technician, I always ask if the color will be see-through before choosing it.
Pro: Dip Nails Are Inexpensive
I constantly get the question: how much do dip nails cost? The answer is very similar to gel nails. Generally, dip nails cost between $30 and $50, which is relatively inexpensive for a gorgeous manicure.
Con: Dip Nails Take A Long Time To Do
Sometimes, my nail technician needs over an hour to do my nails, especially if she needs to remove my old dip nails first.
Pro: Dip Nails Are Done At Most Salons
Because they’re growing in popularity, dip nails are now available at most salons.
Con: Salons Offer Less Dip Nail Colors
Just because most salons offer dip nails doesn’t mean that they have a ton of colors. In fact, it may be useful to buy your own colors off Amazon if you’re really picky.
Pro: Dip Nails Are Less Damaging Than Acrylic Nails
While most types of manicures damage your nails a bit, when it comes to dip nails vs acrylic nails, dip nails are much less damaging.
Con: Dip Nails Are Tricky To Remove
While it is possible to remove dip nails at home, you need to be very careful so you don’t damage your own nails. I’ll include more info about how to do this safely below!
How Much Do Dip Nails Cost?
I’ve clearly explained why I’m overly obsessed with dip nails, but one of the biggest questions is always: how much do dip nails cost at an average salon?
The question of how much dip nails cost will depend on your location and salon, but I can give you a general idea.
The cost of a regular dip manicure (not including gel tips) should be anywhere from $30-$50, including tax but before adding a tip. Gel tips will run you about $20-$30 extra, depending on how many you need and what type of tips the salon uses.
You should always ask how much dip nails cost before booking with a salon. If the price is too low, they might use 2nd rate dip products, while a super high price just won’t be affordable for regular upkeep.
I also recommend asking how much do dip nails cost if you’re planning on adding fancy designs, sparkle nail accents, or each nail in a different color.
If you’re wondering how much dip nails cost at home, the answer will depend on the kit you get. I’ll link some of my favorite kits a bit lower down, but the price will mainly be for the initial investment. If you’re committed to doing dip nails at home over time, then the cost will get cheaper each time you do them.
How To Do Dip Nails At The Salon
If you’re getting dip nails at the salon, expect the process to take about an hour.
You’ll want to be very specific with your nail technician about:
- The color you want
- The shape you want (a picture can help)
- The length you want (I usually describe the length in comparison to the end of my finger)
- The shine you want
The more specific you can be, the better! I also recommend looking at Google reviews ahead of time.
How To Do Dip Nails At Home
I get a lot of questions about how to do dip nails at home. The process is actually really easy if you have a steady hand and requires way less equipment than gel nails.
How To Do Dip Nails At Home: The Process
For dip nails at home, you will first need to buff your nails and do your regular manicure however you please. Once you’re done, you’ll do a base coat and let it dry.
At this point, you can start working with the dip powder. You’ll paint a coat of nail polish on, dip your nail in the powder dip, shake it off, and let it dry.
It doesn’t take long at all for dip nails to dry, so once you’re done with one hand, you can go right over and add the second coat. I like to do 3 coats to make sure the dip powder is thick enough.
Once you’re done, you’ll do a final top coat. After it’s dry, you will then file down the nail until it looks natural. I find that it especially helps to file your dip nails on the side so they’re not too thick, but I like to leave the thickness in the middle. Don’t worry about ruining the top coat: that’s the point!
Once your nails look 100% natural, you can use your final top coat. This top coat will take a bit to dry (5-10 minutes) but dries quicker than regular nail polish.
And that’s exactly how to do dip nails at home, easy and simple! You don’t need a UV light (as you do with gel nails) and will find that this is an easy process to do while watching Netflix or listening to music.
This is a great beginner dip kit with some gorgeous neutral colors!
Dip Powder Nails With Tips
As I mentioned above, it’s very easy to add gel tips to dip nails if your nails are too short.
Gel tips are basically the new and better (in my opinion) version of acrylic nails. If you’re considering dip powder nails with tips, I 100% recommend gel tips.
The one downside of gel tips is how flimsy they are. Gel tips are incredibly easy to break, but they work perfectly with dip powder nails because the dip is so strong.
Using dip powder nails with tips will also give your own nails a chance to grow to the length you want, at which point you can stop using the gel tips.
I highly recommend doing dip powder nails with tips in order to achieve the look of the inspiration photos below!
How To Remove Dip Nails
The answer to the question of how to remove dip nails is simple: you remove dip nails in the same way that you remove gel nails.
To remove dip nails, you’ll need a bit of a cotton ball soaked in acetone. Scrape off the top layer of the dip nails using a filer or buffer, then place the cotton ball on top of the nail and wrap the nail in tinfoil. You can also use nail clips that you can easily buy on Amazon.
Let your nails sit for 10-15 minutes then check to see if the polish has fallen off. If there’s still a bit stuck on, you can gently scrape it to see if it has softened or you can wrap the tinfoil for another 5 minutes.
Once you have the polish off, gently buff your nails. That’s the whole process for how to remove dip nails, simple and easy!
After removing dip nails, your original nails should be in good shape because dip nail polish protects the nature nail.
Dip Nail Colors & Designs
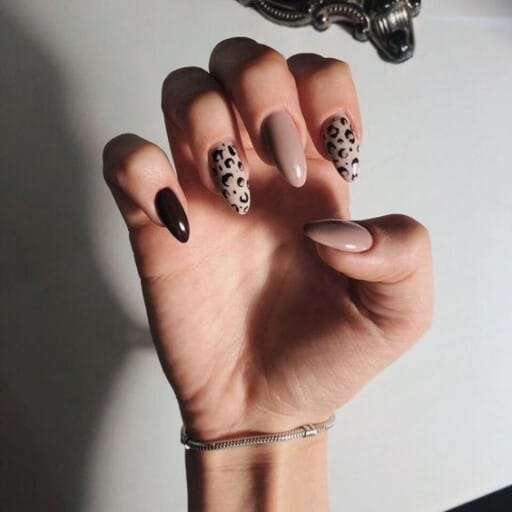
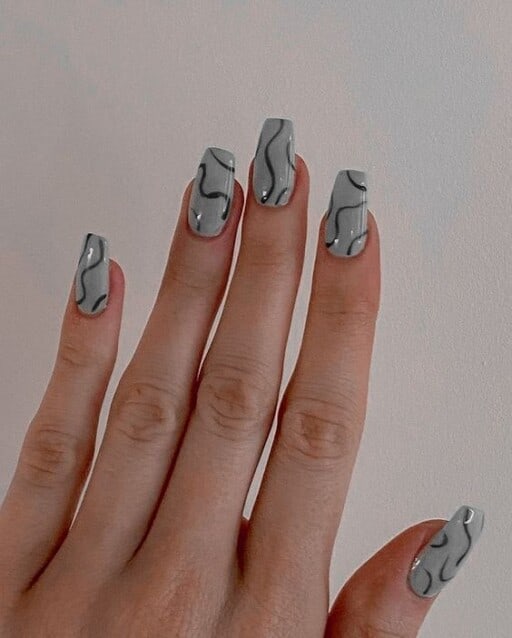
Here are some of my favorite current nails that are trendy right now! You can either copy these nails at home or show the photos to your stylist.
Some of these nails clearly have gel tips while others are the natural nails.
I’ll update these photos monthly to make sure they’re the trendiest styles right now!
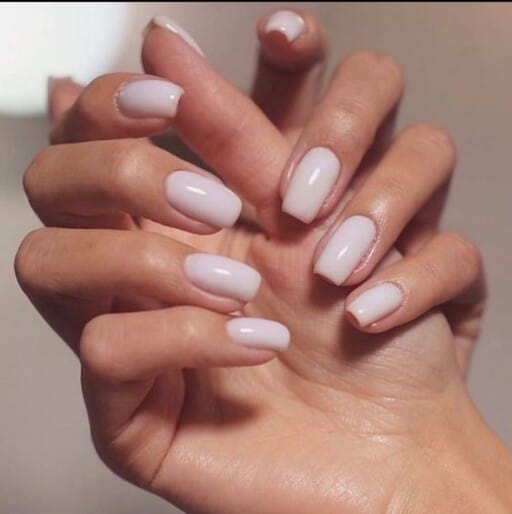
These are a great example for your how to do gel nails at home question. They’re a pale, light pink, and the nails are filed into a square shape. These nails are very basic and easy to do at home!
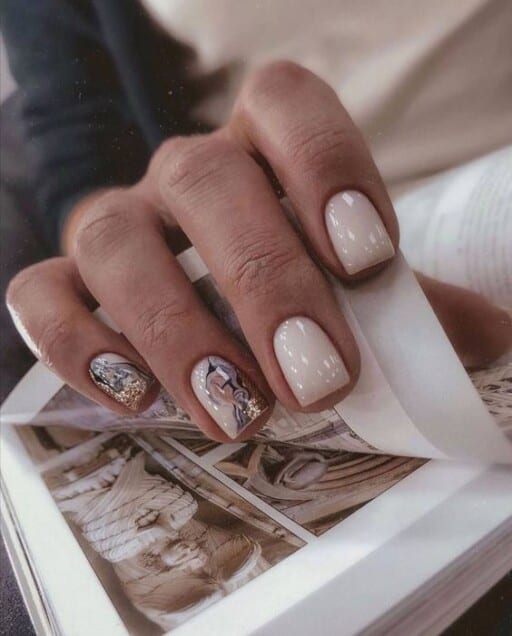
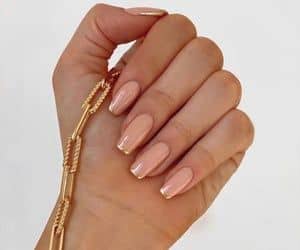
I love this neutral dip nail look with the extra design. It’s a bit complicated so you’ll have to find a good nail technician who can replicate it!
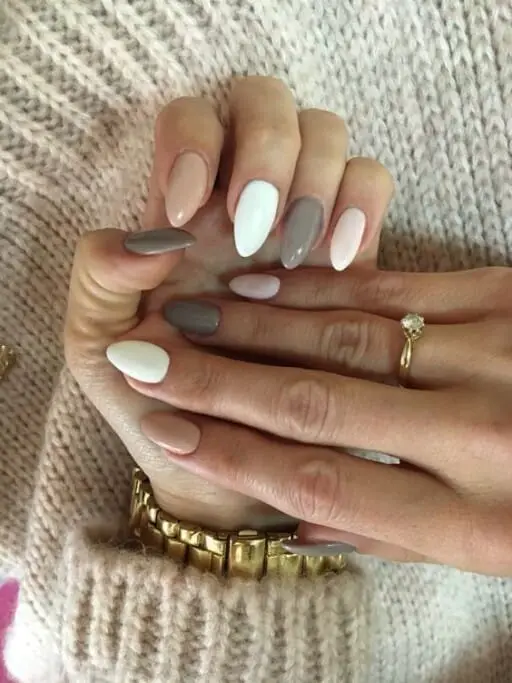
These are clearly dip powder nails with tips (probably gel tips) that are filed into round tips.
While these nails could be done with acrylic nails, I feel that with dip nails vs acrylic nails, dip always wins, and these nails are just as beautiful!
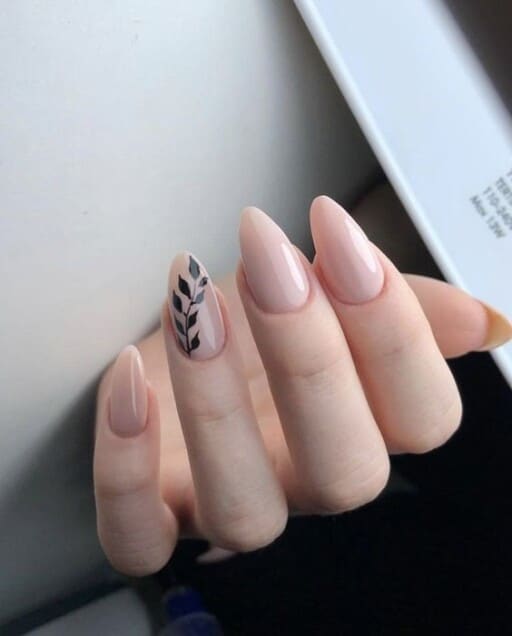
Of all the pros and cons of dip nails, my favorite pro is how thick dip powder nails are. These nails probably have 3 coats, but you can see the creamy thickness even in this photo.
If you’re wondering how to do dip nails at home, look at the sides of these nails. They are clearly filed (the 2nd to last step) so that the nails blend naturally into the cuticle but are thick in the middle.
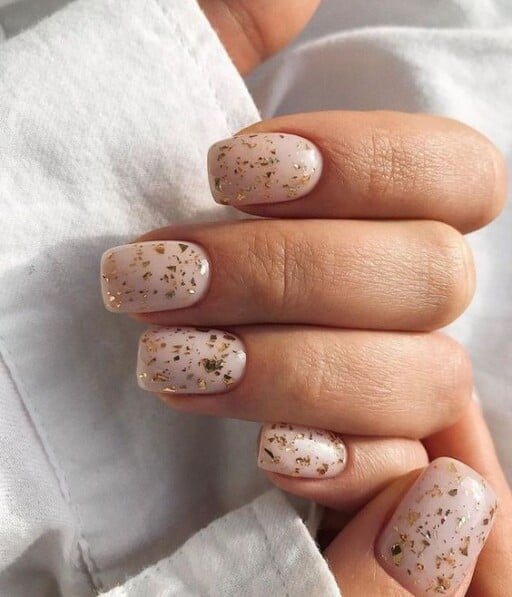
These dip nails require a bit of sparkle sprinkled on. I recommend doing this after you file the nails and adding another coat on top of the sparkles.
If you show it to your nail technician, they should know what to do, although it never hurts to ask if they can accomplish this ahead of time.
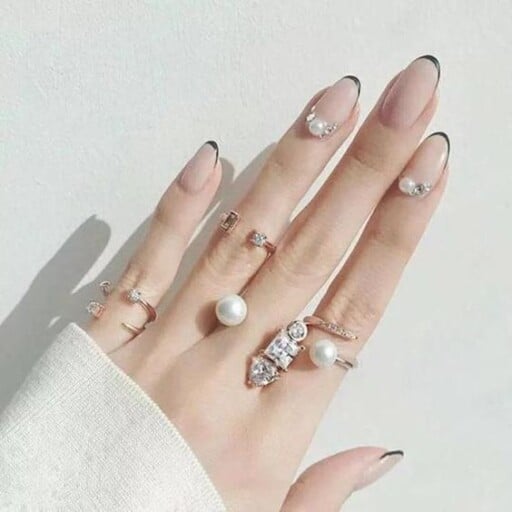
I absolutely love the reverse tip trend lately. You can do this trend with any color on the tip, and it’s 100% ok if your regular nails show through a bit.
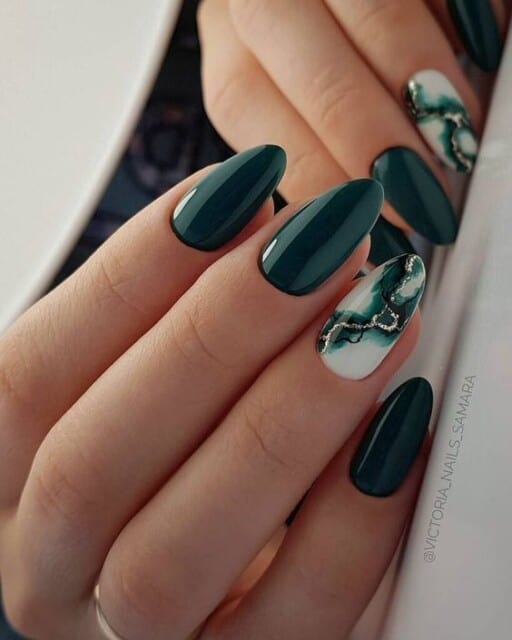
The singular different nail trend is still popular with a lot of variations. I really love this marble design!
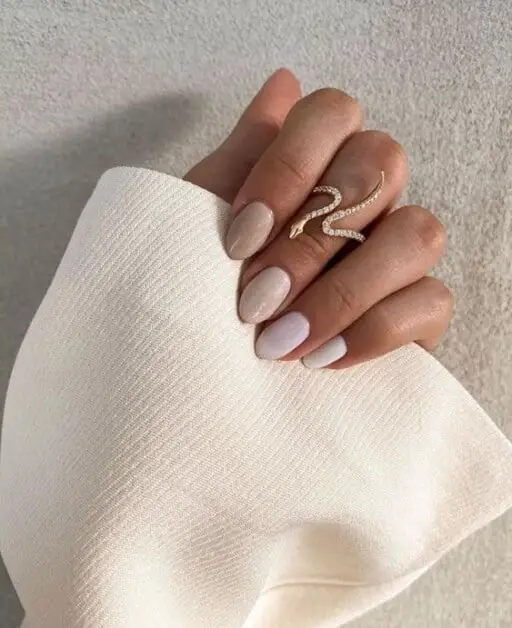
This is an example of classic nude dip nails. She may or may not have (very small) tips on her nails, which is a great idea if your nails are super short.
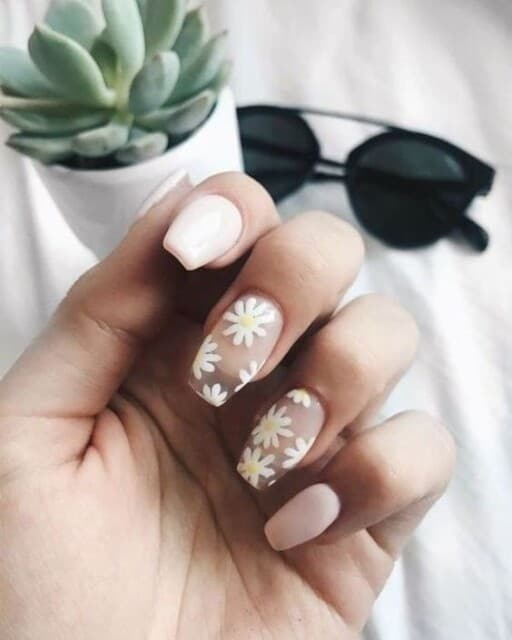
These nails definitely use gel tips and have a beautiful daisy design. They’re so fun for any time of year and are perfectly neutral!
I love these square nails with tips. They’re neutral but different.
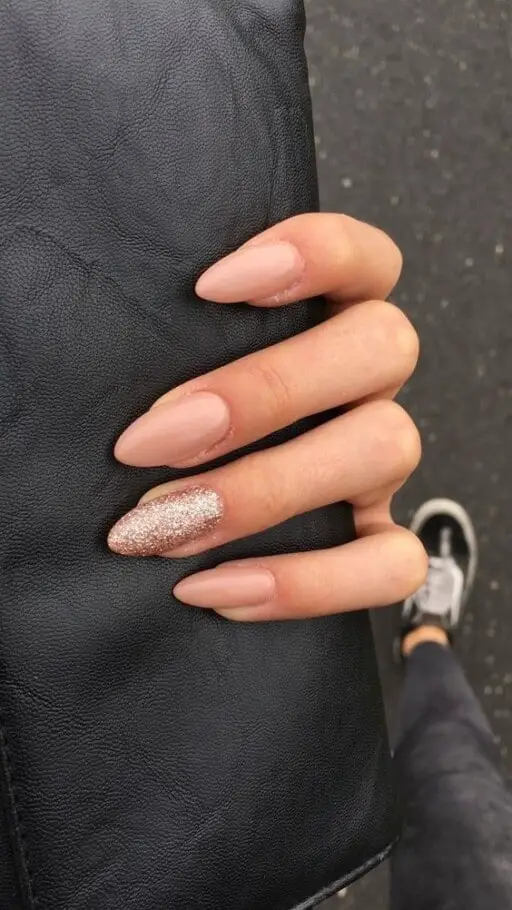
You might need tips for these nails. This neutral color with the sparkle nail is super classy but unique.
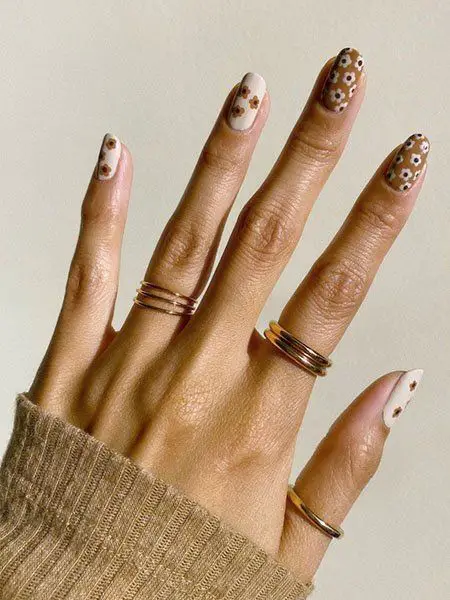
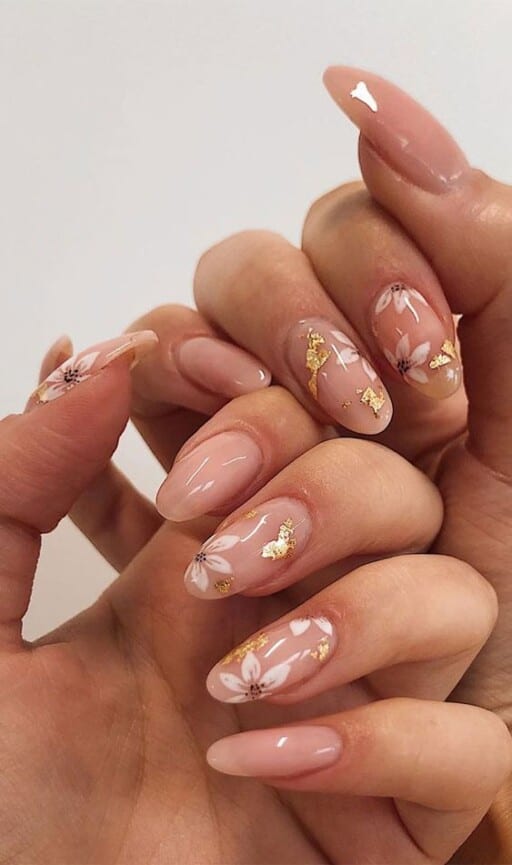
I love these designs! You’ll either need to use flower stickers or ask your nail technician if they’re able to draw on these simple flowers.
This nails are ultra-trendy right now. They’re a bit tricky to do, but you can also layer stickers under your top coat.
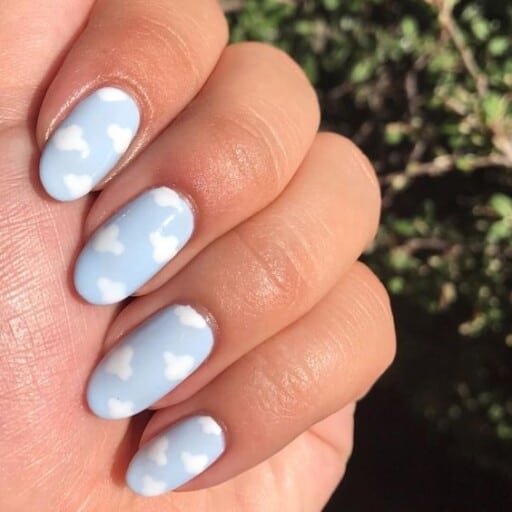
These cloud nails are trendy thanks to TikTok and are absolutely gorgeous. Again, you can either ask your nail technician to paint on the clouds, or you can use stickers, which are easy to find right now.
These nails are classy and trendy. They almost definitely require dip nails with tips!
If you’re into interesting designs, try out these dip powder nails with tips. This design is really in right now!
If you hadn’t noticed, flower nails are trendy this year. This is another neutral nail set with gorgeous but unique flowers!
These slanted tip nails are on trend right now. They’re a bit complicated to do. You mainly need a thick enough dip color (that appears natural) so your regular nails won’t show through.
If you’re on this post wondering how to do dip nails at home, these nail designs are a great place to start. The nails are simple and short, and are very classy.
Any neutral light pink color will work for these dip nails at home!
These are gorgeous dip nails that require an experienced nail technician, but they turn out so beautifully!
I love these nails for any special occasion, especially in the winter. You can change the nail colors to fit your outfit.
This is a simple design that’s super classy!
These dip powder nails with tips are square shaped and have some beautiful sparkle accents. You’ll need to use a special dip powder with sparkle in order to achieve this look.
This is a great illustration of why when asking dip nails vs gel nails, dip nails win! The thickness of these nails is evident and the nails are super smooth. They almost look acrylic because they’re so perfect.
With dip nails vs gel nails, dip nails win for me every time!
Questions or comments about dip nails? Let me know in the comments!
In conclusion, dip nails offer a convenient and long-lasting alternative to traditional nail enhancements. By following the steps outlined in this master guide, you can achieve professional-looking dip nails at home. From prepping your nails to perfecting the dipping technique, this process may take some practice but the results are well worth it. With proper care and maintenance, dip nails can last up to several weeks, making them a great option for those looking for a durable and low-maintenance manicure choice. So, grab your dip powder and start mastering the art of dip nails today!
