Are you looking to add some shine and vibrancy to your hair without the commitment of a permanent color change? Look no further than an at-home hair glaze treatment! A hair glaze is a semi-permanent color treatment that can enhance your natural hair color, add depth and dimension, or even neutralize any brassiness. In this guide, we will walk you through the steps of achieving a professional-looking hair glaze in the comfort of your own home. Say goodbye to dull, lackluster hair and hello to a glossy, salon-worthy finish!
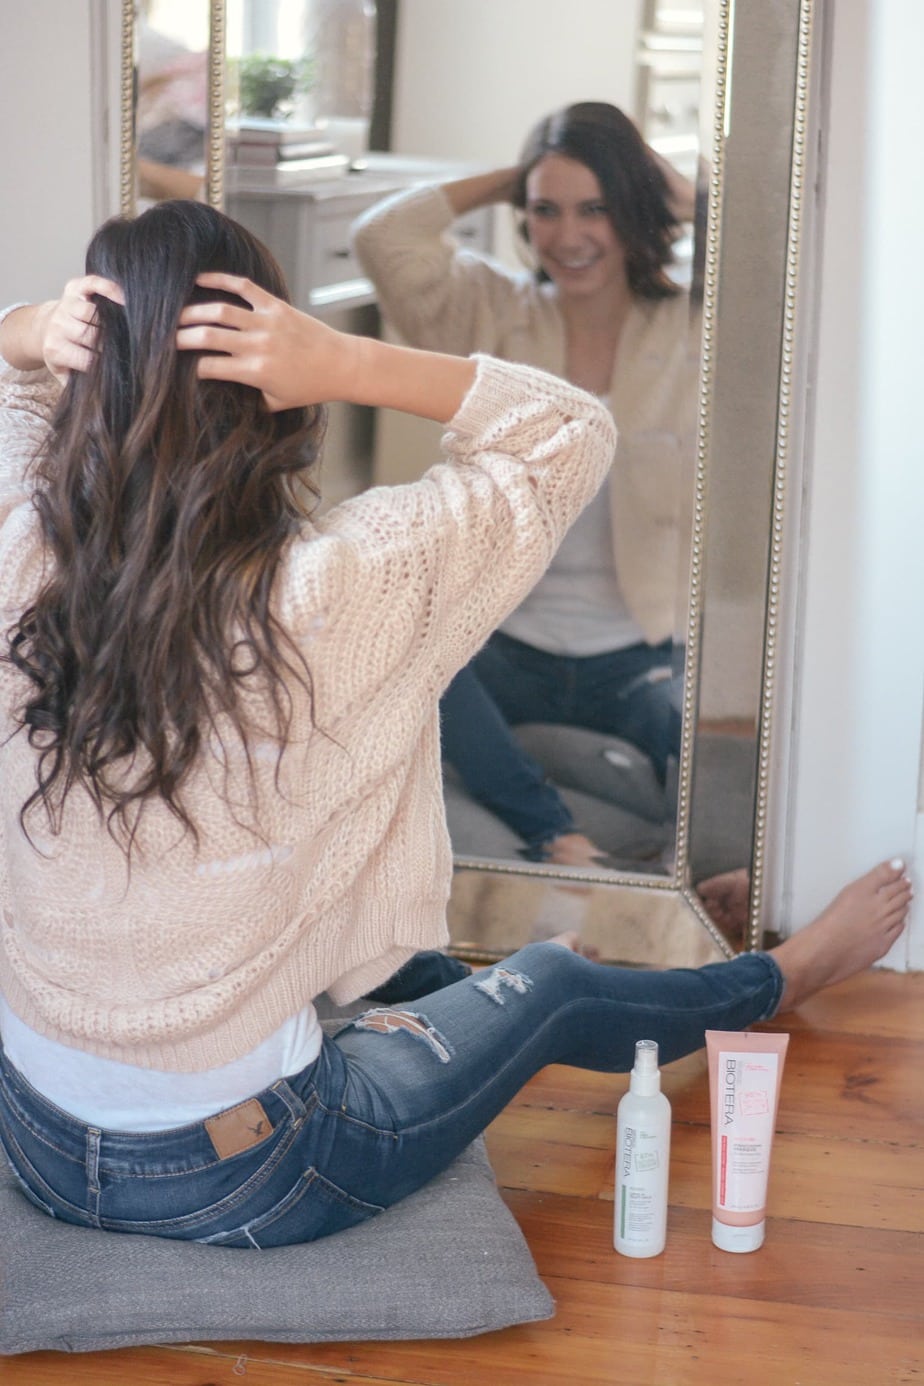
About 6 months ago, I got my balayage re-touched and was horrified when I got home to see that the top half of my hair was red brown tones and the bottom was a mix of almost-black, white blond, and purple. Obviously, this was not a color job I could live with, so I quickly figured out an at home hair glaze treatment solution that included color.
While I love a good balayage, I was already considering getting rid of it because the blonde was getting a little out of hand. The options now were either 1) pay over $400 for a color correction that still wouldn’t be great and might damage my hair or 2) figure out some way to cover it up by going back to straight up brunette.
I talked to my hairdresser and she recommended just glazing it with a color glaze for a few months. This would give my hair time to rest and get me closer to my natural color without getting the super flat look from a box dye. I first got one glaze in the salon, but it cost $75 with tip! You have to do them every few weeks, so even this was pretty insane for just one service (not including blow dry or anything else).
DIY beauty treatments are always a lot of fun to figure out (my most recent post is all about how to whiten teeth at home), so I decided to give this hair glaze a try. I ended up saving a lot of money and time, plus I have total control over when to re-do the glaze.
I scoured the internet and finally figured out how to do an at-home color glaze. A ton of products for an at home color glaze don’t actually work (they literally don’t last more than a day) and this is the only product I’ve found that does.
My last glaze actually lasted so long that I haven’t repeated the process in a month and a half!
I also tried this hair glaze once when I had hair extensions and it worked great – the colors weren’t even off between my hair and the extensions!
1. Buy the Products
- Redken Shades in your desired color (I use Walnut but there’s tons of colors available on Amazon – this color chart can help you figure it out)
- Redken Shades Processing Solution
- Rubber gloves
- A glass bowl that won’t stain
- An elastic or clip
- Cream to remove the dye
- A shower cap (optional)
One bottle of the actual color will only last about 2 treatments, but the processing solution will last around 8, so I usually buy a few bottles of the color at one time.
2. Mix the Solution
Add equal parts color to processing solution (half and half) to a glass bowl that won’t stain. This color hair glaze treatment stains so easily, so if you want to be really careful then cover the floor or counter. The paint behind my sink is permanently stained!
Mix the solution with a spoon until it’s well-blended. Cover your shoulders with a dark towel, throw on some gloves, and get to work!
3. Apply the Hair Glaze
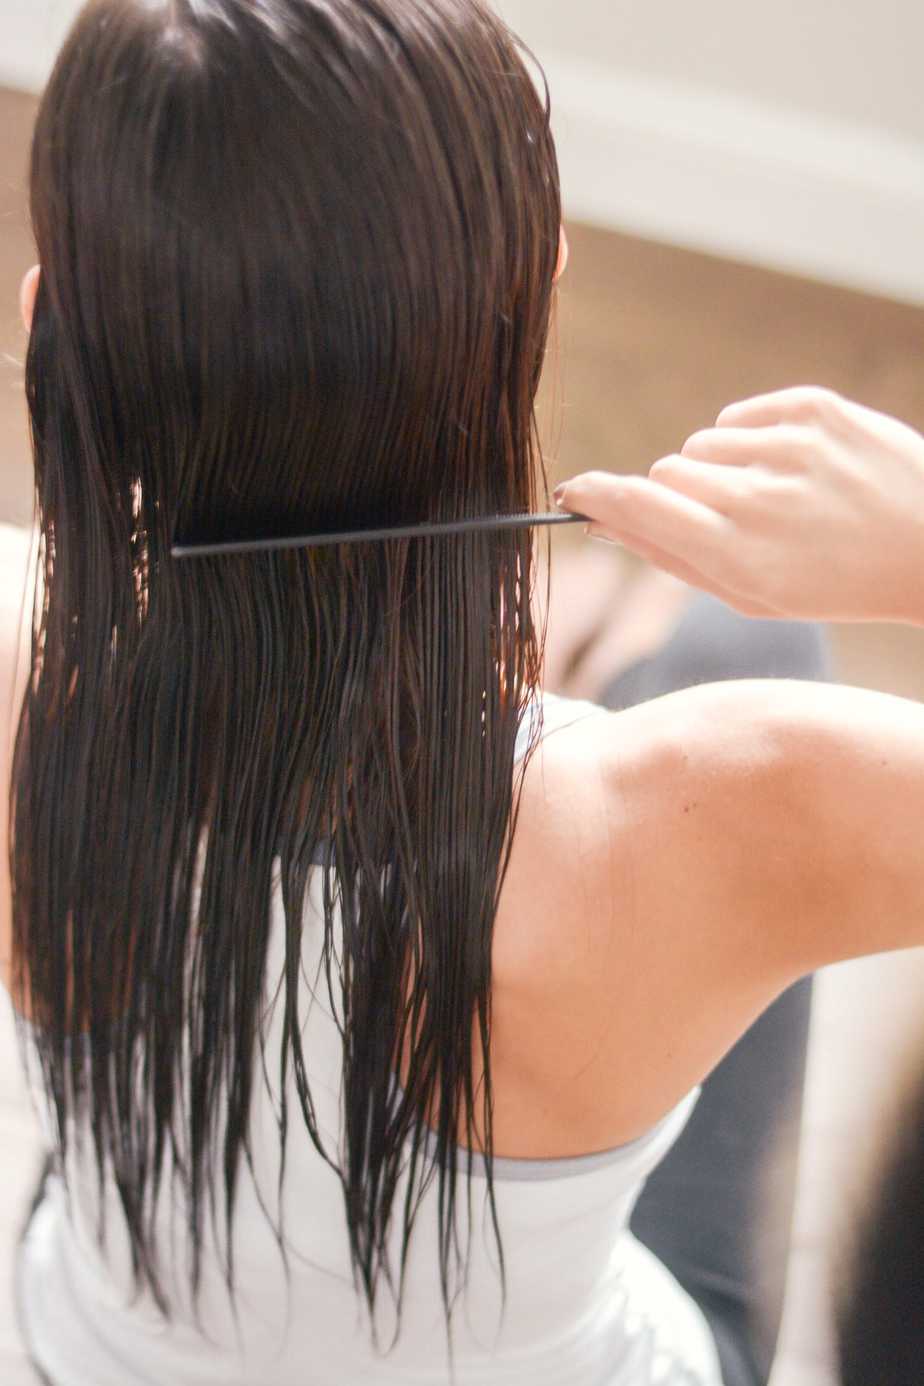
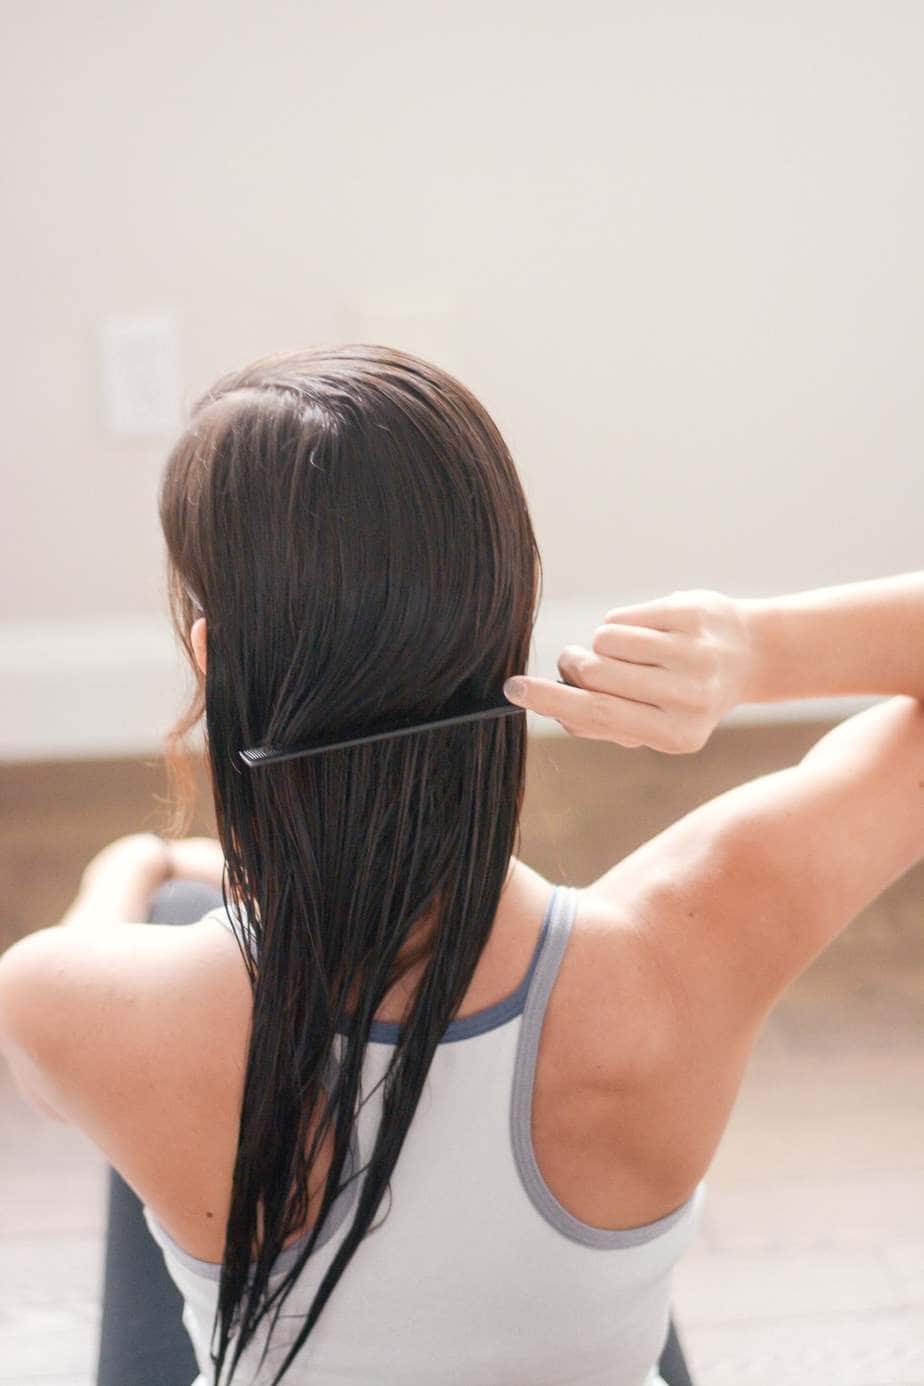
You want to apply the solution to dry hair that’s thoroughly combed. There’s many different ways of doing it, but I like to just grab some of the solution in my hand (wearing gloves) and run it through each strand. It takes about 5-10 minutes to get my whole head, and this way I can put more solution on the really blonde strands that I need to tone.
You can do more on the roots or on the ends depending on the outcome that you want. Even though you’re applying the hair glaze to dry hair, you want your hair to look completely wet by the time you’re done. I like to run it through with a comb after I finish the application to make sure it’s somewhat even, although missing a few spots won’t cause any huge problems (since the color isn’t crazy strong – one of the best parts of a color hair glaze!).
Try to avoid getting any on your skin or ears, but it can easily rub off with cream if you do slip.
4. Let It Sit
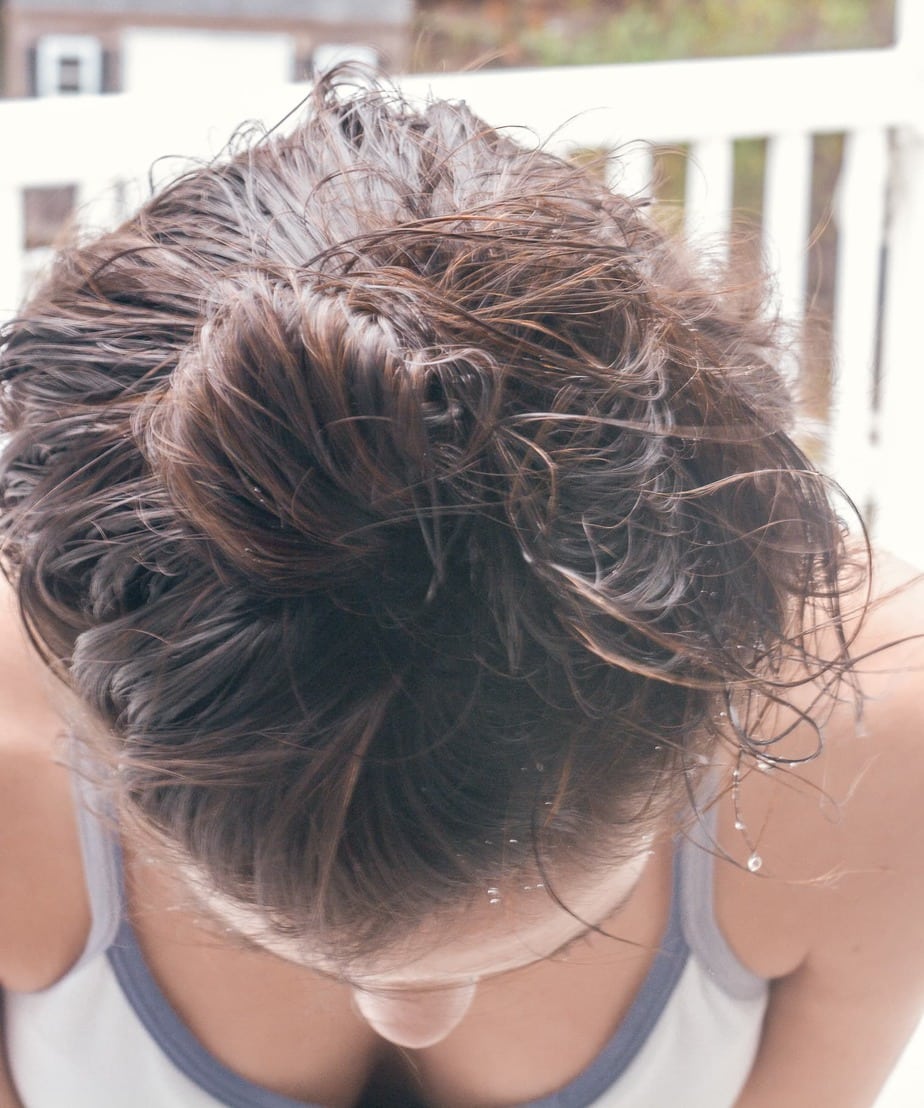
After the application, I twist my hair up into a tight bun (using an elastic or clip) and throw a shower cap over it (not completely necessary but it keeps it from dripping). I don’t let mine sit that long. The Redken Shades colors are a lot more intense than you’d realize!
Since it takes 5-10 minutes to apply, I only let it sit for another 5-10 minutes (so that it’s around 15-20 minutes total). This gets me a really dark color that can be too much for a few days, so tread carefully.
I’ve used a lot of hair glaze treatments that I had to let sit for a few hours just to see a slight result – this isn’t one of those, which is why these products are my favorite!
While you’re waiting, you can dab cream onto any spots that might have dripped onto your skin. Although it’s strong, the color comes out of skin pretty easily (I can’t say the same for my countertop!).
5. Rinse It Out
Rinse out your hair for a good few minutes (mine has yet to stain the shower so don’t worry about that) and then shampoo and condition it like normal.
My favorite part of this glaze isn’t just that the color is so strong but that it actually makes your hair super soft and shiny for weeks! It’s the only brand I’ve found that has virtually the same effects as a salon glaze.
In my opinion, there’s no reason not to do a glaze at home. Your stylist will apply the glaze then literally let it sit, so you’re doing the exact same thing. Even if you’re not typically amazing with hair (and would be petrified to give yourself highlights) it’s pretty hard to go wrong with an at home hair glaze!

In conclusion, performing an at-home hair glaze treatment with color is a great way to refresh and enhance your hair’s shade and shine without having to visit a salon. By following the steps outlined in this guide and using the right products, you can achieve professional-looking results from the comfort of your own home. Remember to choose a color that complements your natural hair tone, and always perform a patch test before applying the product to your entire head. With a little time and effort, you can enjoy beautifully colored and glossy hair that will have you feeling confident and stylish.