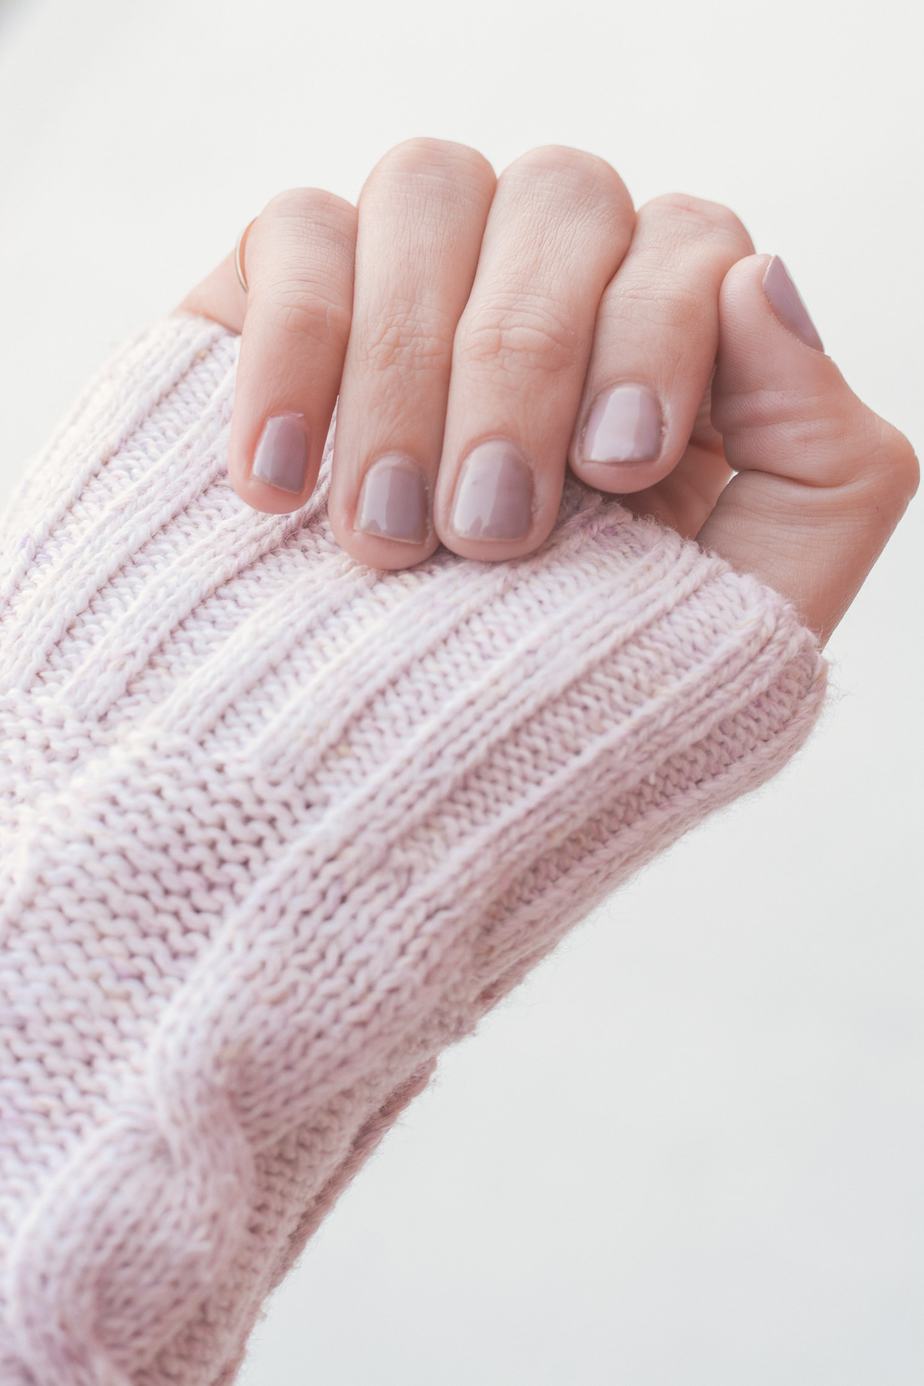
Gel nails and shellac nails are becoming increasingly popular for their long-lasting and durable finish. Doing gel nails at home can save you time and money compared to salon visits. With the right tools and products, achieving salon-quality results at home is easier than you think. Whether you’re on a tight budget or looking to splurge on high-end products, there are options available for every price range. In this guide, we’ll show you step-by-step how to do gel nails and shellac nails at home, so you can have gorgeous, long-lasting nails without breaking the bank.
I’m one of those people who likes to always have my nails done. What I don’t like is sitting in a nail salon for over an hour staring at the wall. There’s a lot of things about going to get my nails done that makes me put it off: you never know which nail artist you’re going to get, it never comes out the same way, you don’t have enough time to choose a color (even if you show up early), and no matter who the person is, they’ll never do 3 coats even if I ask.
Eventually, I just kind of stopped going, but my nails looked terrible. I love DIY beauty stuff, so I thought that there must be some way to do gel nails at home and get the same effect.
I’ve of course done a regular non gel nails at home before, but not only do I smudge it every single time (which, when you’ve waited an hour before ruining one nail, is the worst feeling in the entire world), but the nail polish peels off after a few days.
I would routinely spend about $38 for a gel manicure once every two weeks, but the manicure would only last about a week and a half. With my new at home shellac manicure method, here’s what I spend:
- $28 for 5 different polish colors and the base and top coats
- $8.99 for a manicure starter kit (including a file, nail brush, etc.)
- $39.99 for the gel manicure at home UV light machine
Total, that’s $76.98, which means I only have to do my nails 2.02 times to be saving money compared to the salon. I had nail polish remover at home, but I guess you could say that would be an extra $5 or so. Keep in mind that this price doesn’t include gas to get to the salon, and more importantly, your time. I’ve actually figured out that after doing this for a while, each of my gel nails at home manicures costs about $2.
Don’t forget that this budget includes all of the “how to remove shellac nail polish” steps that the salon will usually charge you $3-$4 for.
So, how to do gel nails at home? I’ll walk you through it step by step.
Note: This post may contain affiliate links. That means I may make a small commission on items purchased through links in this post at no extra cost to you! I only recommend products that I use and enjoy.
Related Posts:
- How To Have White Teeth In a Week: a Foolproof Guide for a Beautiful Smile
- Hair Extensions Pros and Cons Based On My Experience
- My Winter Hair and Skincare Routine
How To Do Gel Nails at Home:
1. Gather Your Supplies
You need a few different things before you can do a gel manicure.
- Base and Top Coat (I use this version from Amazon; I also have this one and it works well too)
- Nail Color (this starter pack is my favorite – it has a great range of neutrals)
- Manicure Kit (this one is affordable and pretty comprehensive; it’s what I use)
- UV Gel Light Machine (this is the one I use, but here’s a bunch of different ones on Amazon if you want to read through the reviews; this is a necessary piece to do gel nails at home)
I set everything up on my vanity (a desk or countertop will work too) and make sure it’s well-lit, then proceed with my gel manicure at home.
2. Take Off Any Regular Or Shellac Nail Polish
This seems pretty obvious but you want your nails to be clean when you start. Make sure to remove any little bit since anything on your nails will cause the gel to peel.
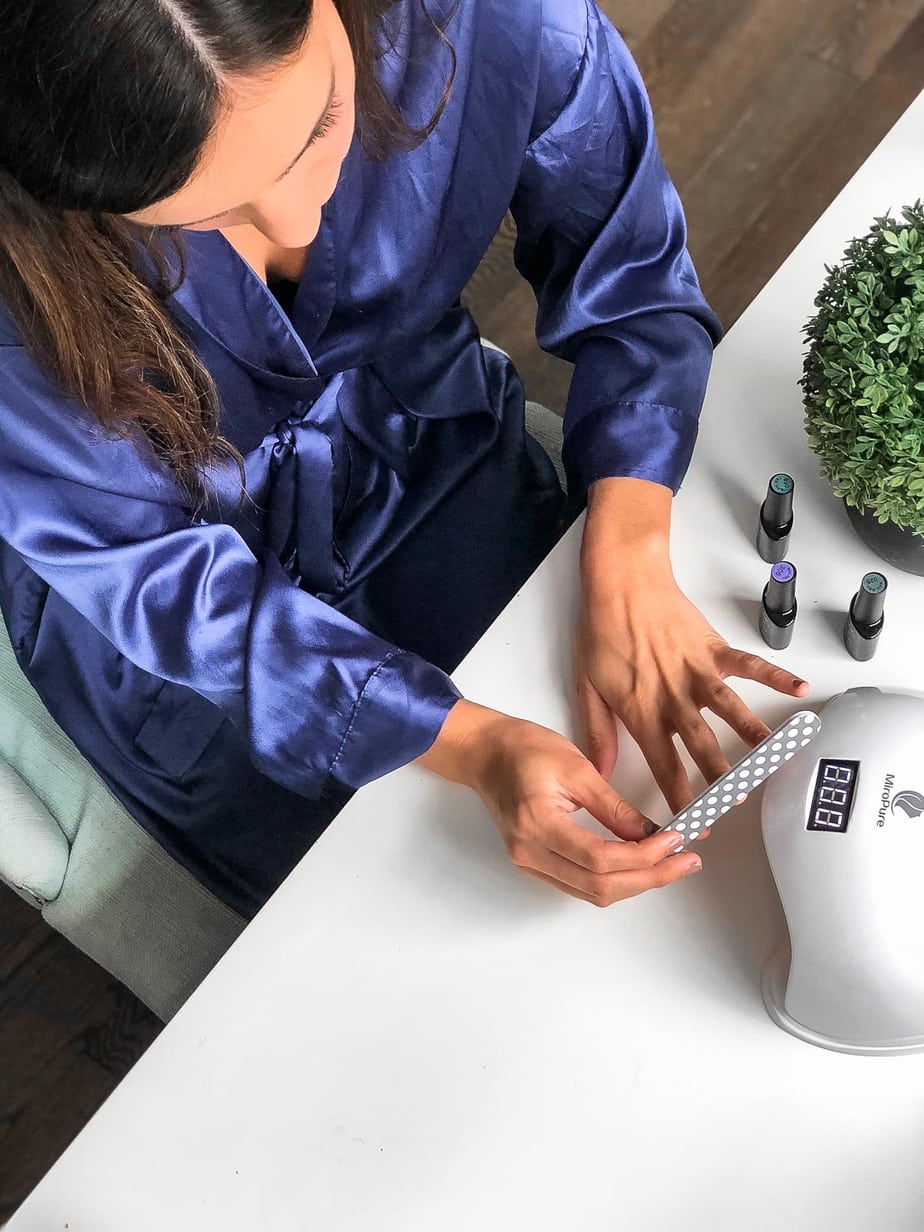
3. Do a Simple Self-Manicure
I use the manicure kit and do a really easy self manicure that takes about 10 minutes. I cut my nails in the shape I like (you can do round or square), file them so they’re smooth, clip away any dead skin, brush my nails, and buff them until they’re nice and smooth.
The last step is really important: use water, nail polish remover, or rubbing alcohol to wipe down each nail pretty vigorously. You can use tissues or cotton balls (whatever you have on hand), but make sure that each nail is 100% clean before you start painting.
4. Apply the Base Coat
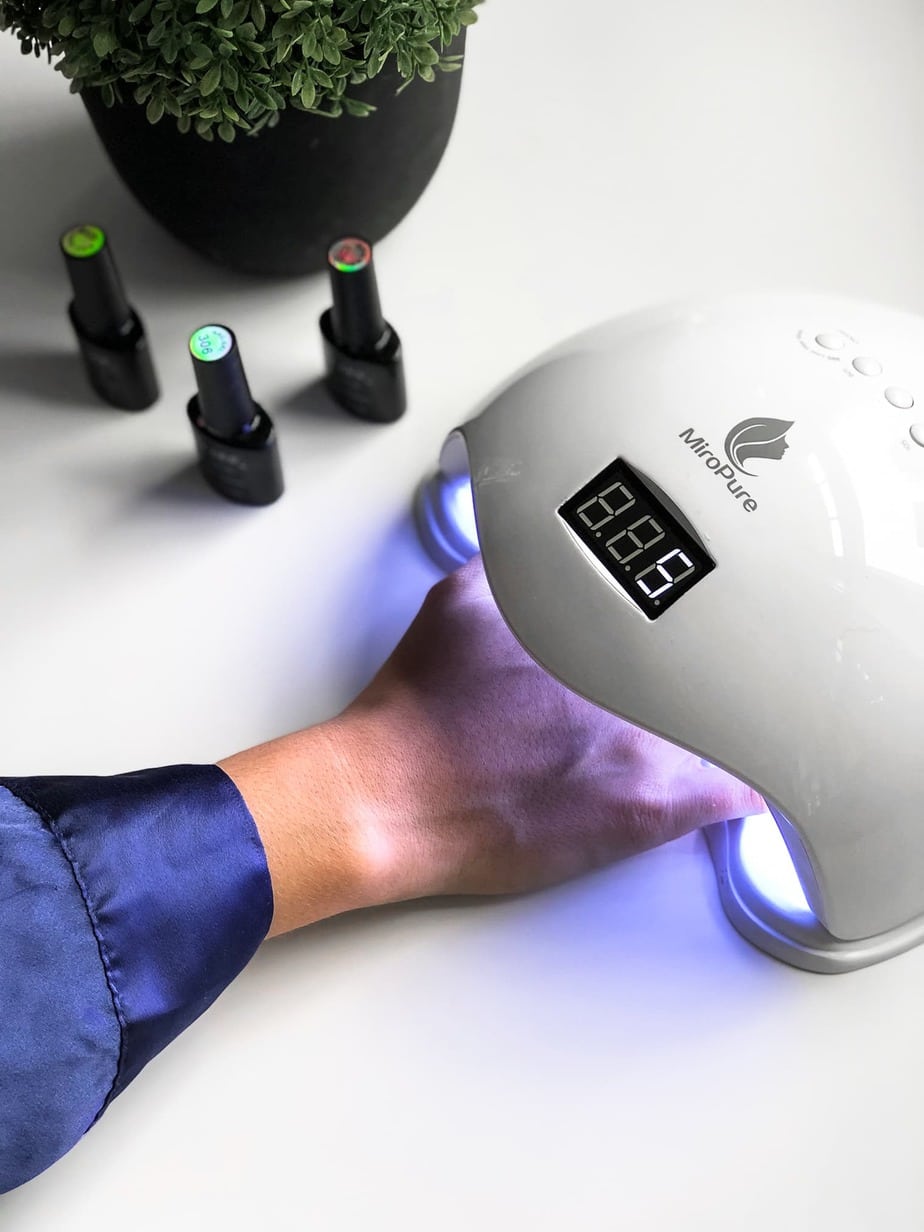
Now, here’s the actual answer to how to do gel nails at home. The base coat should be a clear coat that helps the gel stick on. Apply it carefully to one hand and make sure that you don’t get any on your skin. The easiest way to ruin a gel manicure is to have even a tiny bit of the paint touching your skin. You’re better off having a small gap between the end of the nail and the skin – that’s what nail artists at salons do, and for good reason.
Once you’ve applied the base coat to one hand, put it under the UV lamp. There’s different time settings depending on the lamp, but I usually go a bit over the setting (similar to the salon) since I’ve noticed that the gel will stay on longer and it hasn’t impacted my nail health. My recommended setting on the device is 90 seconds, but I do somewhere around 120 seconds per coat.
5. Apply the Color
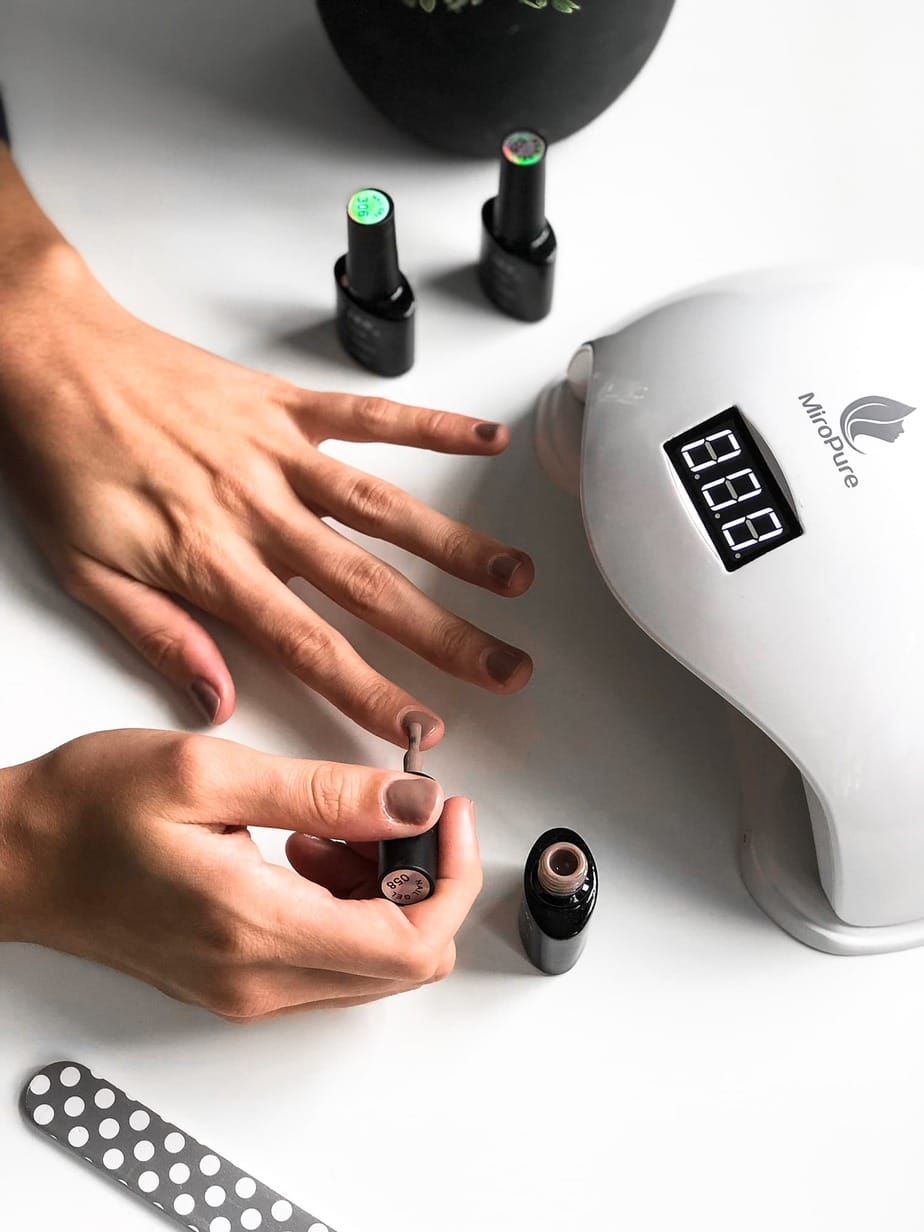
Once you’ve applied the base coat, it’s time to add your chosen color. Again, proceed really carefully and don’t get any on your skin. I’ve found that if I do 3 coats of a color it comes out way better and lasts longer. After each coat, put your nails under the lamp for your chosen amount of time to harden them up.
In between coats, try not to touch your nails since they’ll still be a little sticky.
6. Apply the Top Coat
Lastly, you do the exact same thing with the top coat. After application, I usually leave my nails under the lamp for a bit longer to harden up the last coat (again, similar to the salons). If you get your nails done a lot you’ll definitely have an idea of what works for you!
7. Wipe Off Your Nails
The last step to finish your DIY gel nails at home is to take a damp cotton ball or tissue and vigorously wipe off your nails. They should be hardened by now, so don’t worry about ruining them. You want to get all the sticky parts of the gel polish off, then you’ll have a gorgeous manicure! If you’re doing one hand at a time, you could proceed with the other hand here.
How to Remove Shellac Nail Polish:
Surprisingly, taking off the gel polish can be a way bigger pain than actually doing your gel nails at home. Try not to peel them off (I know it’s difficult) because it’ll make it hard to buff your nails and your next manicure will come out really bumpy.
1. Rough Up the Finish
The first step in how to remove shellac nail polish is to use your buffer tool to rough up the shine on your gel nails. Try to get as much of it off as you can; it’ll make soaking your nails a lot easier and the process will go more quickly.
2. Let the Nails Soak
I use tinfoil and cotton balls for this part. Break off a piece of the cotton ball (about the side of your nail), soak it in nail polish remover, then place it on top of your nail and wrap the tinfoil around it to hold it in place. This part will take about 10 minutes (sometimes longer), but you should check your nails every 5 minutes or so. If you go too long, the nail polish remover can get through the gel polish and start to break down your actual nail bed.
3. Scrape Off the Polish
Here you can use a little scraper tool (I use the cuticle remover in this kit) to scrape off the softened gel polish. If it’s really hard to get off, wrap the tin foil back around your finger and wait a bit longer. Resist the urge to peel it off – you can really damage your nails and your next manicure won’t come out that great.
4. Buff Nails
Use the buffer in your kit and lightly buff your nails until they’re smooth. If you doing gel nails at home during this same session, then you can skip this part and just do a full manicure (since buffing your nails is part of a regular gel manicure at home).
There’s so many pros of doing your own gel nails at home. For me, it’s the price, the convenience, and the freedom to do them however I want that I really love. Give it a try and let me know in the comments how they come out!

In conclusion, doing gel nails or shellac nails at home is a convenient and cost-effective option for those looking to achieve salon-quality results without breaking the bank. With the right tools and techniques, anyone can master the art of DIY nail treatments. By following step-by-step tutorials and practicing proper application and curing methods, you can enjoy long-lasting, glossy nails in the comfort of your own home. Whether you have a tight budget or simply prefer the convenience of at-home manicures, learning how to do gel or shellac nails is a great skill to have in your beauty repertoire.